Boost Revenue with 3D Product Visualization
For custom manufacturers, 3D product visualization isn't just some fancy tech add-on. It's a fundamental business tool that turns your old-school, static product catalogs into a living, breathing, interactive sales machine.
Think about it. You're creating detailed, digital twins of your products. This gives customers the power to configure, customize, and spin them around from every conceivable angle—long before you ever make a single cut. It's a complete shift in how you sell, designed to help you close deals faster and slash those costly, frustrating errors.
Why 3D Visualization Is a Competitive Necessity
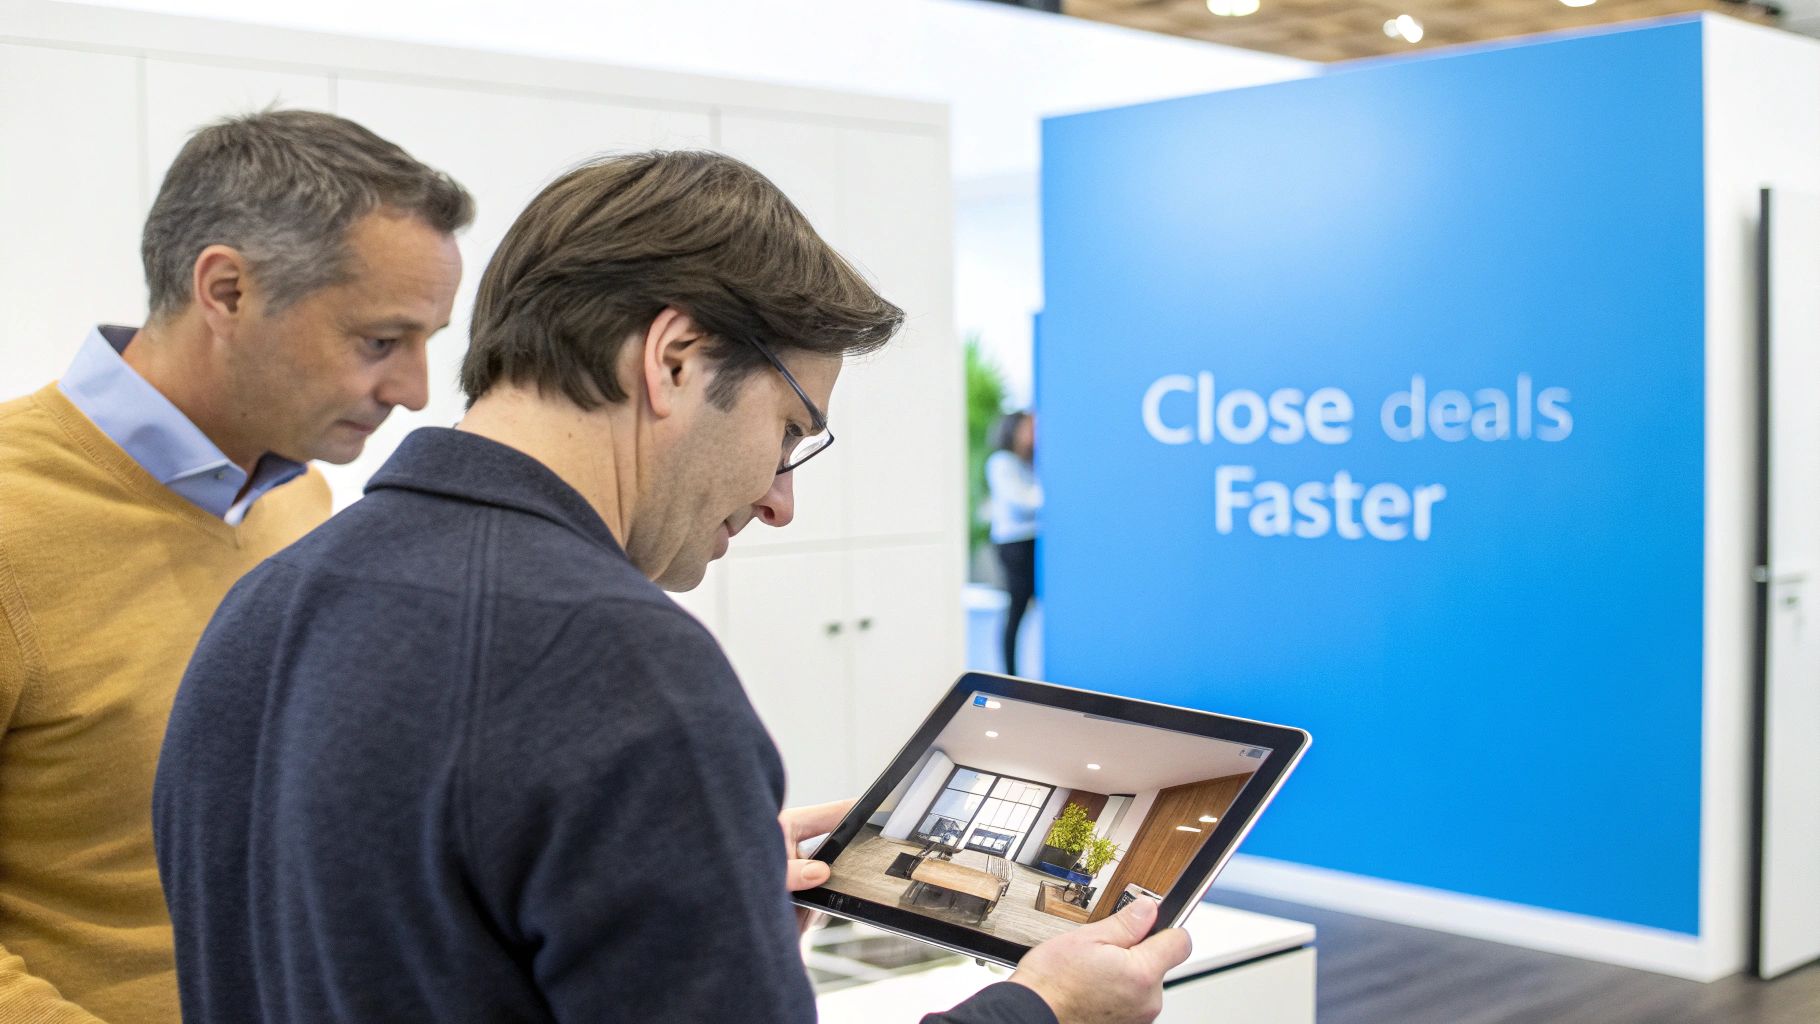
In crowded markets like custom woodworking or architectural millwork, you need more than just top-notch craftsmanship to win. You need to deliver an unbeatable customer experience. The old way of doing things—endless email chains with static photos and confusing sketches—is painfully slow and leaves way too much room for misunderstandings.
This is exactly where 3D visualization gives you a massive edge.
Instead of trying to describe what a client's custom cabinet or furniture piece will look like, you can show them in vivid, interactive detail. That instant visual "aha!" moment builds trust and evaporates the hesitation that kills so many deals.
From Static Catalog to Dynamic Design Studio
Picture a typical custom cabinet shop's website. The old approach is a simple gallery of past work and a "contact us" form. The new approach? That same website becomes an interactive design studio.
A potential customer isn't just passively browsing anymore. They're actively designing. They can click through different door styles, experiment with wood finishes, swap out hardware, and see the price adjust with every change.
This hands-on experience accomplishes several huge things at once:
- It educates your customer on their options and the value behind each one.
- It qualifies your leads because serious buyers will invest their time creating their perfect product.
- It dramatically shortens the sales cycle, answering dozens of questions visually in minutes, not days.
- It cuts down on mistakes by making sure the customer and your shop are working from the exact same visual plan.
When you turn passive website visitors into active designers, you're no longer just selling a product. You're selling a collaborative experience. That shift is the key to boosting conversion rates and building real brand loyalty.
The numbers back this up. The global market for 3D product visualization software is on a tear, projected to jump from USD 1.2 billion in 2026 to USD 4.8 billion by 2033. This growth is fueled by e-commerce brands finding that immersive visuals boost customer engagement by a whopping 65%. Even better, 78% of users make buying decisions faster after playing with a 3D model.
Slashing Costs and Improving Margins
Beyond the obvious sales lift, 3D visualization directly fattens your bottom line. Physical prototypes are incredibly expensive and take forever to build. A single high-quality 3D model can do the work of several physical prototypes, saving you thousands in materials and labor.
And what about communication breakdowns? A clear, approved 3D model becomes the single source of truth for everyone—from the sales team to engineering to the guys on the shop floor. This drastically reduces the risk of expensive rework. Every mistake you avoid is pure profit added right back to your margin.
For a deeper dive into how this visual approach can revolutionize your marketing and product showcasing, explore this complete guide to 3D product rendering for business. This isn't about adding flashy graphics; it’s a strategic move to build a more efficient, profitable, and customer-focused operation.
Choosing the Right Rendering Strategy
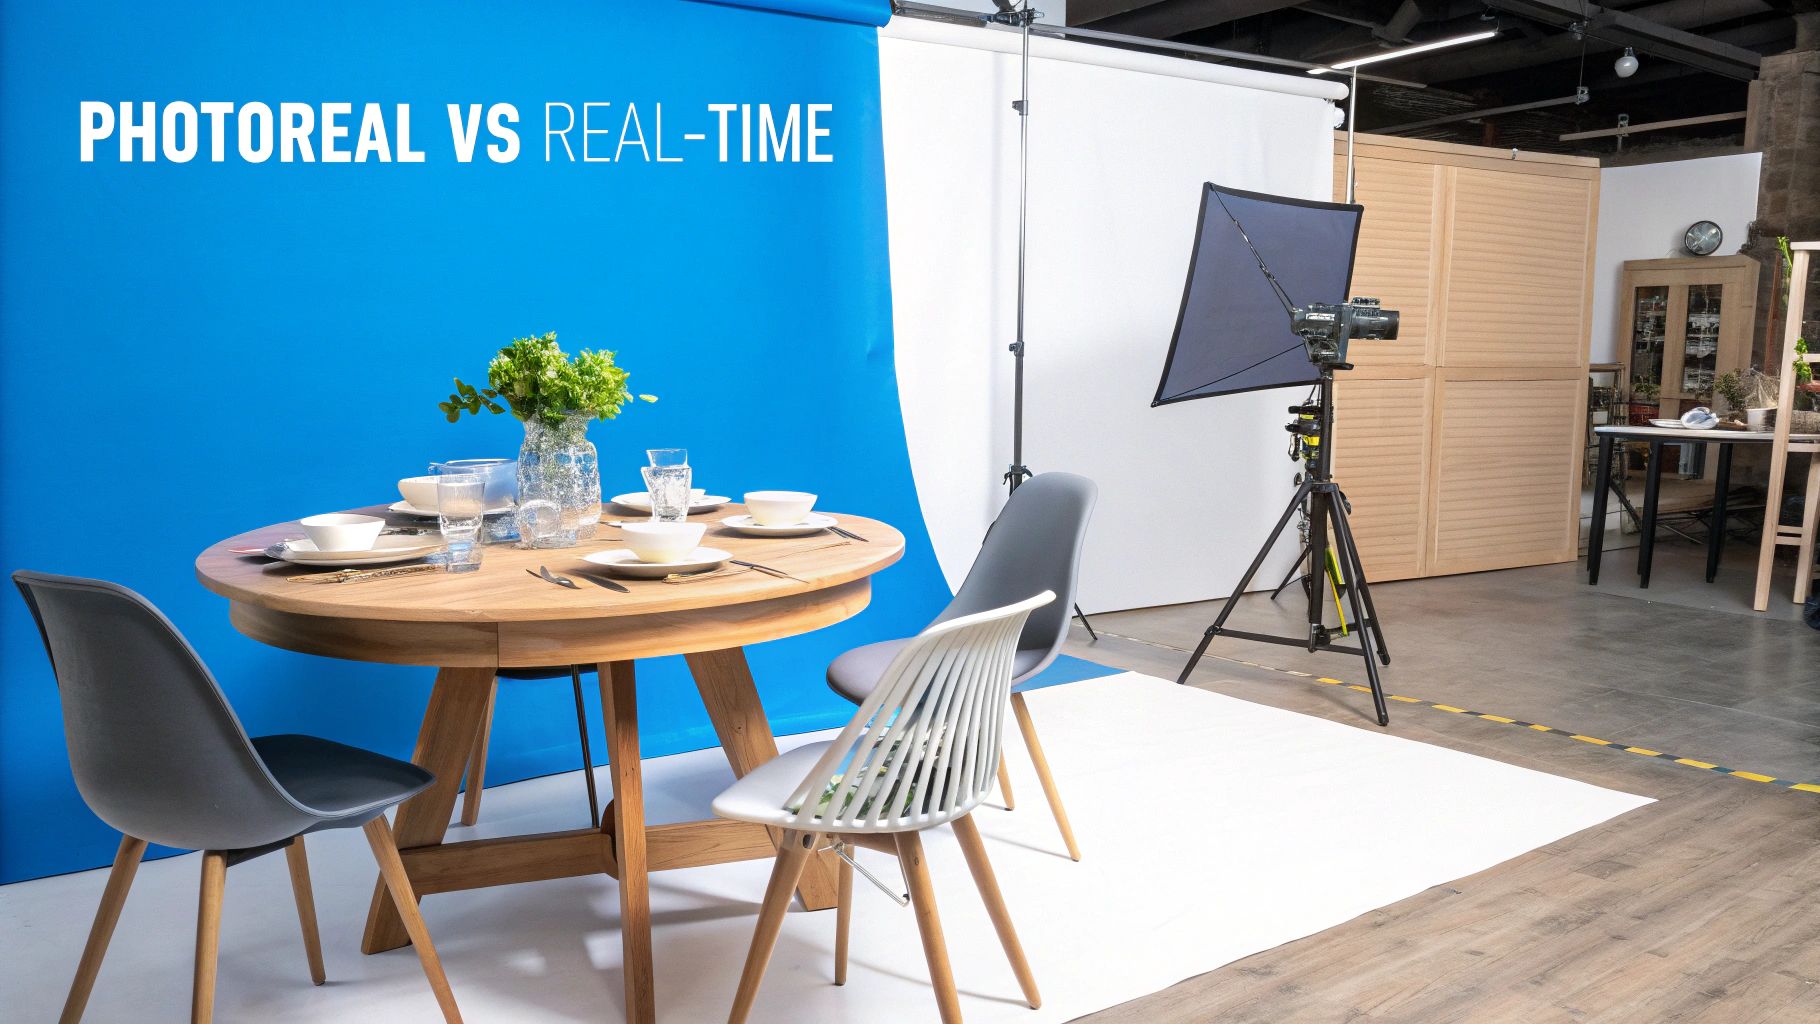
Once you're on board with 3D product visualization, you hit your first major fork in the road: how are you going to render your products? This isn't just a technical detail; it’s a strategic decision that will shape your marketing, your sales process, and the way customers interact with your brand.
The two main paths are photorealistic rendering and real-time rendering. They serve completely different purposes, and honestly, most successful manufacturers end up using both. Think of it as the difference between a high-gloss magazine ad and an interactive showroom floor.
Photorealistic Rendering: Your Digital Photoshoot
Photorealistic rendering is all about creating that perfect, jaw-dropping image. We're talking about static, computer-generated visuals so lifelike they're impossible to distinguish from a professional photograph. This is your secret weapon for creating stunning marketing assets for your website, social media, and print catalogs.
Imagine you're launching a new line of custom cabinetry. Instead of building an entire kitchen set, shipping the cabinets, and hiring a photographer, you can create a flawless digital scene. You get total control over lighting, angles, and styling—things that are a constant battle in traditional photography. For anyone wanting to really get into the weeds of this, exploring the world of mastering interior design 3D rendering software is a great next step.
This is the route to take when:
- Visual perfection is non-negotiable. You need images that stop people in their tracks.
- Context is everything. You want to showcase your product in an idealized environment, like a sleek office or a cozy living room.
- The goal is to inspire, not interact. You’re selling a vision.
The real power of photorealistic rendering is that it lets you sell the dream. It’s about creating an aspirational image that helps customers see your product in their own space, sparking that emotional connection that drives a purchase.
The trade-off here is interactivity. These are pre-rendered, static images. If you want to show that same cabinet in ten different wood finishes, you need to create ten separate, time-intensive renders. But for top-of-funnel marketing where first impressions are everything, the realism is unmatched.
Real-Time Rendering: The Hands-On Experience
This is where the magic really happens for the customer. Real-time rendering is the engine that powers interactive 3D configurators, letting a user spin, zoom, and customize a product right in their web browser.
Instead of just looking at a picture, your customer becomes the designer. They can swap out leg styles on a table, change the fabric on a sofa, or see how different hardware looks on a cabinet door—all in an instant. This hands-on engagement is incredibly powerful. It transforms passive browsing into an active, creative session, building a huge amount of purchase confidence along the way.
You absolutely need this for:
- Product Customization: If you offer options, a real-time configurator is a must-have.
- Driving Engagement: Interactive models keep people on your site longer, plain and simple. They get a much deeper appreciation for your product’s quality and features.
- Powering Sales: This is the tech behind TimberCloud’s Product Builder. It’s one of the key https://timbercloud.com/features that seamlessly turns a customer’s unique design into a formal quote and a buildable work order.
The trick with real-time rendering is finding the sweet spot between visual quality and performance. Because the rendering happens instantly on the user’s device (even a smartphone), the 3D models have to be lean and optimized for speed. While the visuals are still incredible, they won’t quite hit the pixel-perfect standard of a photorealistic image that might have taken hours to render on a dedicated machine.
Photorealistic vs Real-Time Rendering for Custom Manufacturing
So, which one do you choose? For nearly every custom manufacturer I’ve worked with, the answer is a strategic combination of both. They work in tandem, guiding a buyer from that initial spark of inspiration all the way to a confident purchase.
This table breaks down the core differences to help you see where each one fits into your business.
| Factor | Photorealistic Rendering | Real-Time Rendering |
|---|---|---|
| Primary Use Case | Marketing assets, catalogs, hero images | Interactive product configurators, 360° viewers |
| Interactivity | None (static images) | High (user can manipulate the model) |
| Visual Quality | Highest possible, indistinguishable from photos | Very high, but optimized for performance |
| Speed | Slow to create (pre-rendered) | Instant (renders on the user's device) |
| Flexibility | Low (new render needed for each change) | High (endless configurations from one model) |
Ultimately, a winning strategy uses those perfect photorealistic shots to grab attention on Instagram or in an email campaign. Then, you drive that traffic to a product page where a real-time 3D configurator lets them make the product their own. It’s a powerful funnel that moves a customer from "Wow, that looks amazing" to "Wow, that’s exactly what I want."
Getting Your 3D Models Ready for the Web
A stunning, interactive 3D model is a powerful sales tool, but only if your customer actually sees it. Let’s be blunt: if your 3d product visualization takes an eternity to load, that potential buyer is gone. Web performance isn't just some technical box to check; it's a critical part of the customer experience that directly hits your conversion rates.
Slow-loading visuals create friction and frustration—the two biggest enemies of online sales. You need to deliver rich, interactive experiences that feel instant, whether a customer is on a lightning-fast desktop or a shaky mobile connection. This means every single 3D asset has to be meticulously optimized before it ever gets near your website.
Think of it this way: your 3D models are like shipping containers. It doesn't matter how valuable the contents are if the container is too big and heavy to get through the port. Your job is to make every file as lean and efficient as possible without killing the visual quality that makes it so compelling in the first place.
Choosing the Right File Format
The first decision in web optimization is picking the right container for your 3D data. For real-time viewers, two formats have emerged as the clear industry standards, each with a specific job.
-
glTF (.gltf, .glb): Often called the "JPEG of 3D," glTF is the universal standard for getting 3D models onto the web efficiently. It’s an open format supported by pretty much every modern 3D tool and browser, making it the workhorse for most interactive configurators. It bundles geometry, materials, and animations into a compact, fast-loading package.
-
USDZ (.usdz): Developed by Apple with a helping hand from Pixar, USDZ is built specifically for Augmented Reality (AR) experiences on iOS devices. If you want a customer to tap a button and see your custom cabinet "in their room" through their iPhone camera, you need a USDZ file.
For the best possible reach, you should provide both. A platform like TimberCloud can handle this automatically, serving the glTF file for the on-page configurator and the USDZ for the AR Quick Look feature. This way, you give every user a seamless experience, no matter their device.
The Art of Reducing Polygons and Textures
A 3D model's "weight" really comes down to two things: the number of polygons (the tiny triangles that form its shape) and the size of its textures (the image files that give it a realistic surface). An engineering-grade CAD file can have millions of polygons to ensure manufacturing accuracy, but that level of detail is complete overkill for the web. It will absolutely cripple loading times.
The trick is to reduce this complexity intelligently.
This process, often called decimation or retopology, involves rebuilding the model with far fewer polygons while keeping its essential shape and silhouette. It’s a delicate balancing act that requires either a skilled 3D artist or a sophisticated automated platform to get right.
A great rule of thumb for web performance is to keep your final, optimized model files under 50MB. While not a hard limit, it’s a healthy target that ensures a snappy experience even for mobile users.
Another crucial technique is texture atlasing. Instead of your customer's browser having to download a dozen separate image files for wood grain, metal hardware, and fabric, an atlas combines them into a single, larger image. This dramatically cuts down the number of requests the website has to make to the server, resulting in a much faster initial load.
Implementing Levels of Detail
Even a well-optimized model can be a heavy lift for some devices. That's where Levels of Detail (LODs) come in. This brilliant technique involves creating multiple versions of your model, each with a different polygon count.
- LOD0: The highest quality version, used when the customer zooms in close to inspect the details.
- LOD1: A medium-quality version with fewer polygons, shown from a moderate distance.
- LOD2: A low-poly version that appears when the model is far away or just a small thumbnail.
The 3D viewer automatically switches between these versions based on how close the camera is. This ensures the user always sees just enough detail for their current view without wasting resources rendering polygons they can't even perceive. The result? A consistently smooth and responsive interaction that feels fast at every zoom level.
From a Pretty Picture to a Production Powerhouse
So, you’ve got these fantastic, optimized 3D models. What now? This is where we separate the cool website gadgets from the tools that actually make you money. A great 3D model is the engine, but a truly connected workflow is the whole vehicle—the thing that drives your business from a customer’s first click straight to a finished product on your shipping dock.
The real goal here is to create a single, unbroken chain of information. Think of it as a digital thread that pulls an order from your website directly onto the shop floor.
When you nail this, you kill the most common profit-killers in custom manufacturing: the manual handoffs. No more deciphering messy emails, no more re-keying order details into another system, and definitely no more second-guessing what the customer actually wanted. The configuration the customer builds and pays for becomes the literal blueprint your team uses to build.
Turning an Interactive Model into an Actionable Work Order
The magic happens when your 3D visualizer stops being a standalone toy and becomes the heart of your entire sales process. When you use an integrated platform, like the Product Builder from TimberCloud, that single 3D model transforms into a workhorse for your business. It’s not just for looking; it’s for doing.
Every time a customer spins that model around, changing dimensions or picking a finish, they aren't just playing. They are actively building their own order data, live on your site.
Here’s what that looks like in the real world:
- The Customer Builds: They use the visualizer to choose the exact size, wood species, finish, and hardware for their custom table. It’s intuitive and, frankly, fun.
- The Quote Appears Instantly: With every single click, your pricing rules kick in and update the total cost on the screen. This is huge. It builds trust and gets rid of that dreaded "sticker shock" moment later on.
- The Order is Placed: Once they’re happy, they move right to checkout. Payment is handled on the spot through a secure integration like Stripe.
- The Work Order is Born: This is the game-changer. The second that order is confirmed, the system translates their visual choices into a production-ready work order, spitting out the exact cut lists and assembly guides your team needs.
This screenshot from TimberCloud shows how that Product Builder looks embedded right into a manufacturer’s e-commerce site.
What you’re seeing isn't just a 3D viewer. It's the command center where a customer's choices become immediate, actionable data for your shop.
Keeping Engineering and Sales in Lockstep
We’ve all seen it happen. Engineering makes a small but critical change to a design—maybe they switch to a better joinery method or find a new hardware supplier. But that updated CAD file just sits on a server somewhere. Meanwhile, your sales team keeps selling the old version, and you're stuck with expensive rework and an unhappy customer.
A connected system makes that nightmare scenario impossible by creating a single source of truth.
When a design changes, the update process needs to be simple and airtight. Here’s a tried-and-true workflow:
- The Change Starts in Engineering: An engineer modifies the master CAD file.
- The Model Gets Re-Optimized: That updated CAD file is run through the optimization process again to create new, web-ready glTF and USDZ versions. Often, your platform provider can help automate this.
- The Platform is Updated: You upload the new 3D models to your Product Builder, overwriting the old ones.
- The Change is Instantly Live: The moment you hit save, the updated model is live on your website. Every customer, every salesperson, and your entire production team are now working from the exact same, up-to-the-minute design.
This kind of synchronized workflow ensures that what you sell is always what you can build. It closes that dangerous gap between engineering reality and customer expectations, protecting your profit margins and your reputation.
This isn't just theory; the numbers back it up. Recent industry data shows a 65% boost in e-commerce engagement and a 52% rise in business satisfaction scores for companies that adopt these kinds of integrated platforms. For custom shops, the results are even more direct: when customers can see and interact with their exact configuration, they make buying decisions up to 78% faster. You can dig into more of the data on how 3D platforms are reshaping customer experiences to see for yourself.
This is the real power of connecting your visuals to your workflow—you turn a simple 3D model into the central nervous system of your entire operation.
How to Measure Your Visualization ROI
You've invested in a killer 3D product visualization strategy, and it feels like a game-changer. But how do you prove it? To get buy-in for future projects and justify the spend, you have to connect those slick visuals to real, tangible business results. It’s time to look past vanity metrics like page views and start focusing on the numbers that actually move the needle.
The goal here is simple: build a clear, data-driven story showing how your interactive 3D models make your business healthier and more efficient. This isn't about hunches; it's about tracking specific, measurable wins across both your sales and production workflows.
Pinpointing Your Key Performance Indicators
First things first, you need to know what to measure. Forget about generic website traffic. Instead, zoom in on the specific pain points that 3D visualization was brought in to solve for your manufacturing business.
Here are the core metrics I always tell my clients to track:
- Quote Generation Time: How long does it take your sales team to get a quote out the door now versus the old way? When your 3D configurator spits out quotes automatically, you can often slash this from hours—or even days—down to minutes. That’s a massive efficiency gain.
- Production Errors: Start counting the number of costly remakes or change orders that pop up because of a miscommunication. A shared, accurate 3D model becomes the single source of truth for everyone, and I’ve seen this alone dramatically cut down on those preventable, profit-killing mistakes.
- Customer Engagement: Use your web analytics to see how long people are actually playing with your 3D configurators compared to just flipping through a static photo gallery. Longer interaction times almost always signal stronger buying intent.
This isn't just a front-end sales tool. As you can see below, a connected visual workflow ties what the customer designs directly to the quoting engine and, ultimately, to the shop floor. It’s about streamlining the entire journey.
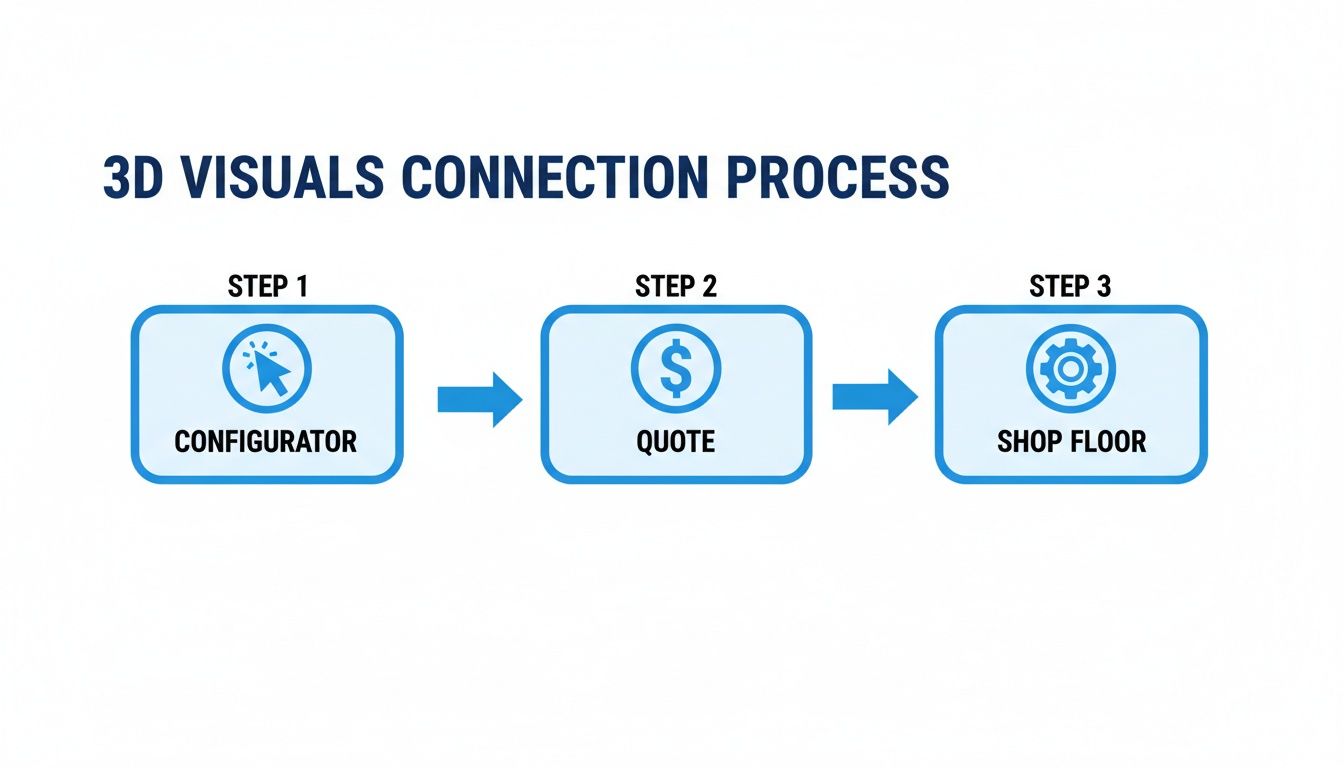
The 3D model isn’t just a pretty picture; it’s the central hub that connects sales directly to production. That connection is where you unlock the real ROI.
Running A/B Tests for Clear Financial Wins
If you want undeniable proof, you have to pit your new tools against the old methods. An A/B test is the perfect way to do this—it’s a simple, controlled experiment that shows you which approach actually makes you more money.
Here’s a classic test I’d run for any custom manufacturer:
- Group A (The Control): Send a chunk of your website visitors to the old product page—the one with a gallery of static photos and a classic "Request a Quote" form.
- Group B (The Test): Send the other chunk of visitors to the new page featuring your interactive 3D configurator, letting them customize in real-time and see an instant price.
By simply comparing the conversion rates between these two groups, you can directly tie any lift in sales or qualified leads to the 3D experience. This gives you a hard number to build your financial case.
Let's say the 3D configurator page (Group B) converts 25% more visitors into paying customers than the static page (Group A). Boom. You now have a clear, quantifiable win. Your argument shifts from a subjective "we think this is better" to a powerful, data-backed "this is generating 25% more revenue."
This isn’t just a trend; it's where the industry is headed. The market for cloud-based platforms is set to explode, hitting an estimated USD 2,208.09 million by 2034. Why? Because it works. 52% of custom manufacturers already report higher satisfaction from interactive visuals, and AI-driven systems are boosting throughput by 30-50%. If you want to dive deeper into the market data, you can explore the full report on 3D visualization platforms.
Once you have these metrics and test results, calculating your return is straightforward. You compare the cost of getting everything set up against the financial gains from more sales, fewer errors, and a more efficient team. For a clear look at platform costs to plug into your analysis, check out our TimberCloud pricing plans. This data-first approach gives you all the evidence you need to prove the massive value of your 3D product visualization strategy.
Your Top Questions About 3D Product Visualization, Answered
Jumping into any new technology brings up a ton of practical questions. When it comes to 3D product visualization, I find that custom manufacturers usually have the same core concerns about cost, who they need on their team, and how this all plugs into the way they already work.
Let’s get straight to it and tackle those common questions head-on.
How Much Is This Going To Cost?
This is always the first question, and the honest answer is: it depends. A simple 3D model might only be a few hundred dollars. A highly complex, deeply configurable product? That could run into the thousands.
But looking at the upfront cost is missing the point. You have to think about the return.
That single 3D model isn't just an expense; it's a digital asset that works for you 24/7. It can replace dozens of expensive photoshoots, cut out the need for physical prototypes for every variation, and be repurposed for everything from your website configurator to slick marketing campaigns.
A single, well-made 3D model often pays for itself the first time it prevents one major production error or helps you land one big custom order. It’s a direct investment in accuracy and sales speed.
Modern platforms are also flipping the old financial model on its head. Instead of a massive upfront bill, many integrated services can bundle model creation and optimization, making this technology much more manageable for shops of any size.
Do I Really Need to Hire a Full-Time 3D Artist?
For most manufacturers? Absolutely not. In fact, for many businesses, hiring a full-time 3D artist would be complete overkill.
A much more common—and effective—approach is to partner with a skilled freelance 3D artist or a specialized agency. They can handle the heavy lifting of turning your designs into a library of high-quality, optimized assets. Once that foundational work is done, managing it day-to-day is surprisingly straightforward.
This is where all-in-one platforms really prove their worth. They’re built for manufacturers, not 3D gurus. Once a model is loaded into a system like TimberCloud's Product Builder, your existing team can easily handle the important stuff without touching any complex software:
- Manage all the product configurations and custom options.
- Set up dynamic pricing rules that update instantly.
- Control the embedded storefront right on your own website.
Your team won’t need any specialized 3D software or technical skills to run the sales side of the operation. The whole point is to make this powerful tech accessible to the people who already know your business inside and out. For more practical advice on getting started, you can find a lot of great insights on the TimberCloud blog.
How Does This Work With My Existing CAD Files?
This is a crucial point, because a clunky workflow is a non-starter. A professional 3D product visualization pipeline should always begin with your engineering-grade CAD files—your STEP, DWG, or other formats. These files are the single source of truth for your product’s design and exact dimensions.
The process involves converting those incredibly detailed engineering files and then methodically optimizing them for web performance. This isn't just a simple "save as." It means intelligently reducing the polygon count, creating efficient textures (texture atlasing), and setting up Levels of Detail (LODs) to guarantee your visuals load in a snap, even on a phone.
When the integration is done right, your sales visuals and your production data are always perfectly in sync.
Ready to turn your designs into an interactive sales powerhouse? TimberCloud provides an all-in-one platform that connects your 3D visuals directly to your shop floor, automating quotes, work orders, and more. See how it works at https://timbercloud.com.
Topics
TimberCloud Team
Content Team
The TimberCloud team is dedicated to helping manufacturers streamline their operations with intelligent software solutions.