Standard Operating Procedure Manufacturing: Mastering SOPs

In any manufacturing shop, a standard operating procedure (SOP) is simply a clear, step-by-step guide for getting a job done right. Think of it as your shop's playbook. Its whole purpose is to make sure every task, especially the complex ones, is done efficiently, safely, and to the same high standard every single time. A solid standard operating procedure manufacturing plan is what underpins consistency and safety on the floor.
Why Manufacturing SOPs Are Your Workshop's Backbone

Let's be real. The term "Standard Operating Procedure" can sound a bit stiff—like something for a massive factory, not the controlled chaos of a custom woodworking shop. It can feel rigid, overly corporate, and disconnected from the craft.
But in my experience, SOPs are the unsung heroes of quality and sanity in any production environment. Stop thinking of them as restrictive rules. Instead, see them as your shop's shared brain, the documented wisdom that turns potential chaos into predictable, high-quality results. They are the playbook that keeps the entire team on the same page.
From Assembly Lines to Artisan Shops
This isn't a new concept; it's the foundation of modern production. The idea of standardizing work goes back to the early 20th century, with Henry Ford as its most famous champion. Around 1927, the Model T assembly line relied on precise SOPs for everything, from installing a specific part to the final inspection. That simple idea slashed production time from over 12 hours per car to just 90 minutes. You can dive deeper into the history of SOPs on ease.io to see how this shift made quality control essential.
That same principle is arguably even more critical in today's high-mix, custom manufacturing world. When nearly every project has a unique twist, having a standardized approach for the common tasks is what saves you from costly mistakes and frustrating delays.
A well-crafted SOP doesn't stifle creativity; it builds the stable foundation upon which true craftsmanship can flourish. It handles the "how" so your team can focus on the "what."
Clear SOPs empower your team by taking the guesswork out of the equation. Rather than every person relying on their own memory or habits, they have a reliable guide for critical tasks.
- Machine Safety Protocols: A checklist to ensure every operator follows the exact same safety steps before firing up the CNC router.
- Finishing Techniques: Documenting the precise process for a flawless three-coat lacquer finish—sanding grits, spray patterns, and cure times included.
- Quality Control Checks: A detailed list for final assembly that guarantees every joint is tight and every surface is perfect before it leaves the shop.
Moving Beyond Tribal Knowledge
In too many shops, the most valuable process knowledge is locked inside the heads of a few seasoned veterans. We call this "tribal knowledge," and while it's priceless, it's also incredibly risky. What happens when your go-to expert is sick, on vacation, or decides to retire?
A proper standard operating procedure manufacturing system is how you capture that expertise and make it available to everyone. It makes training new hires drastically more effective and consistent. Instead of a new person just shadowing someone for weeks, they have clear, documented processes to follow, getting them up to speed faster. This consistency directly leads to fewer mistakes, less wasted material, and a safer, more predictable shop for everyone.
Crafting SOPs That Your Team Will Actually Use
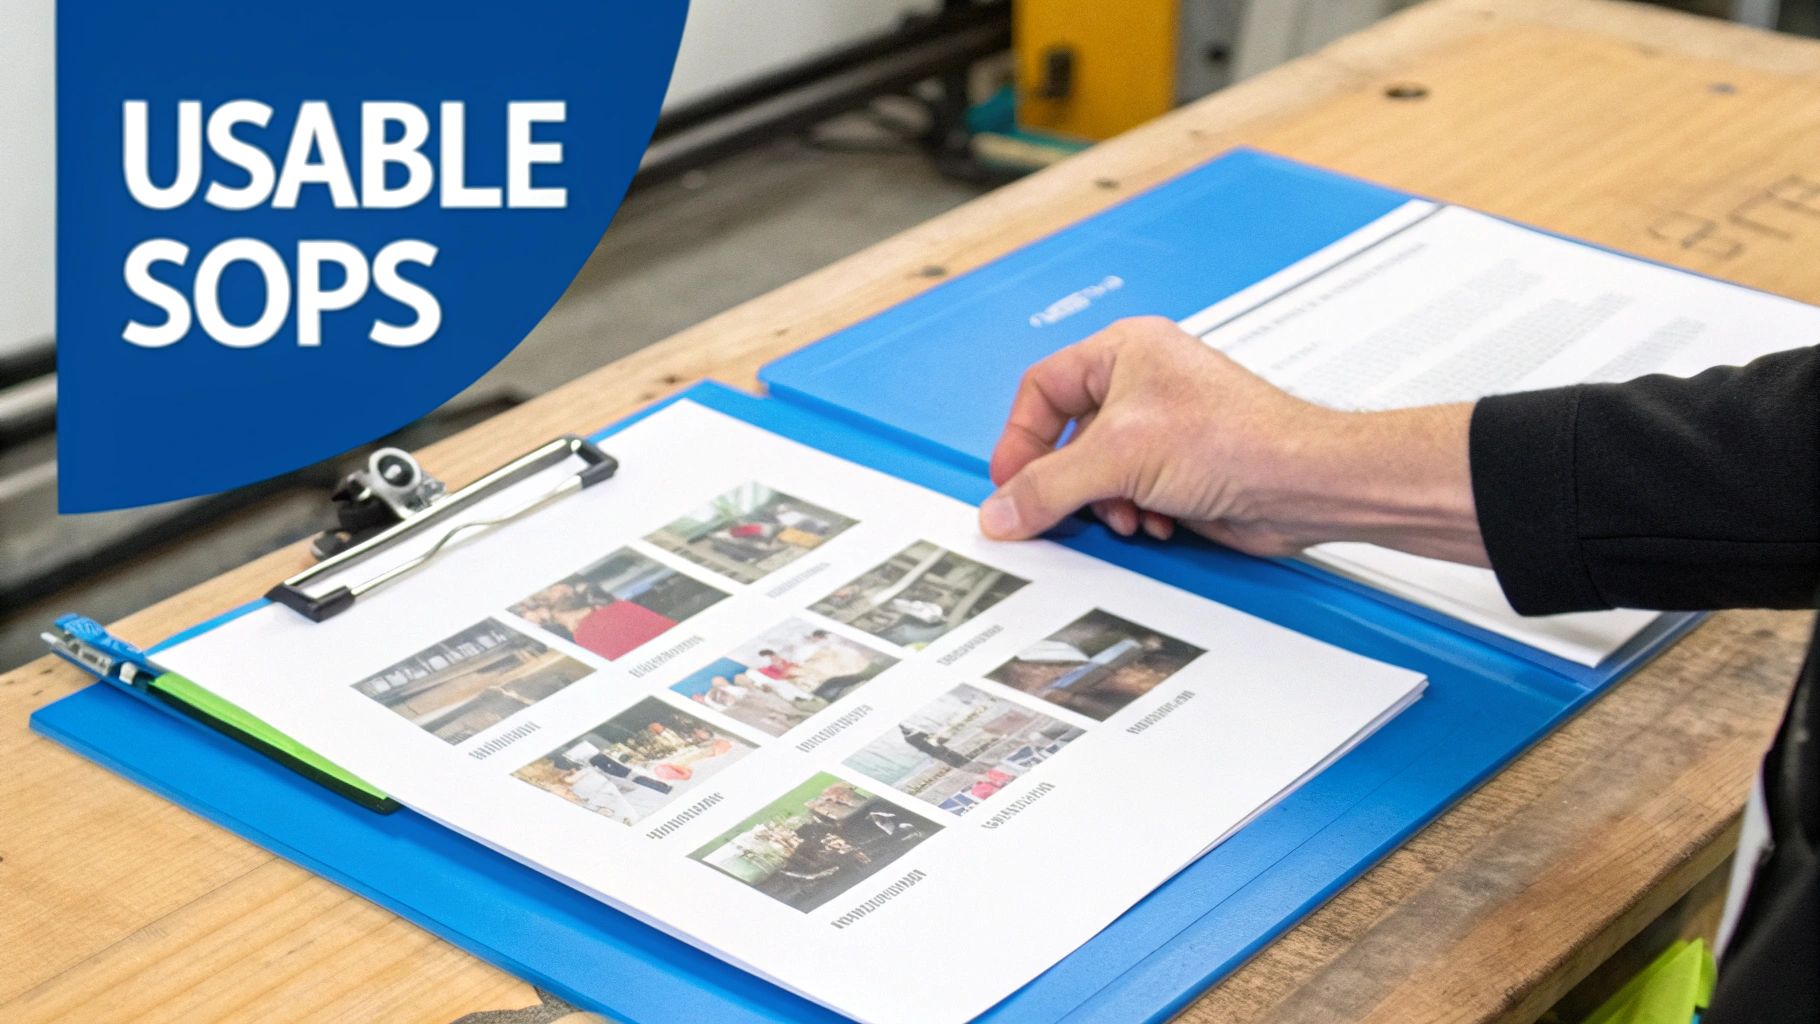
Let's be honest: a perfect, comprehensive SOP binder that just collects dust on a shelf is a total waste of time. An SOP only has value if your team actually uses it. The real goal isn't just to write down rules; it's to create clear, practical guides that become the go-to resource on the shop floor.
This means we need to stop thinking like technical manual writers and start acting like we're building a toolkit. You can't document every single thing at once, and frankly, you shouldn't even try. The trick is to start by zeroing in on the high-impact processes—the ones where a little inconsistency causes the biggest headaches.
Identifying Your Highest Impact Processes
Before you type a single word, grab a clipboard and walk the floor. Just watch and listen. Where do the same questions pop up over and over? Which jobs seem to end up in the rework pile most often? Those are your starting points.
Focus your energy where the stakes are highest. Good candidates are usually the processes with lots of variables or the most risk. Think about things like:
- Complex Machine Setups: Any procedure, like a five-axis CNC tool change or calibrating a wide-belt sander, where a tiny mistake can lead to big problems.
- Multi-Step Finishing Schedules: A flawless finish is non-negotiable in custom work. You need to nail down the exact steps for prep, mixing, application, and cure times.
- Critical Quality Checks: That final inspection before a piece gets packaged is your last line of defense. A solid checklist ensures nothing gets missed.
- Material Receiving: The way you inspect, label, and store raw lumber and sheet goods has a ripple effect on everything that follows.
Once you’ve picked a process to tackle, it's time to talk to the real experts: the people who do the work every day.
Capturing Your Shop’s Tribal Knowledge
Your most experienced people are walking encyclopedias of shop knowledge. They hold all that "tribal knowledge"—the unwritten rules, clever tricks, and hard-won lessons that keep things moving. The challenge is getting that invaluable information out of their heads and onto paper in a way that helps everyone else.
Don't just interview them; work alongside them. Ask them to walk you through the task, explaining not just what they're doing, but why they're doing it that way. That's where you find the gold. They might have a certain sound they listen for in a machine or a visual cue that tells them a finish is ready—details a simple checklist would never capture.
Involving your team in the creation process is the single best way to get their buy-in. When they help build the SOP, they see it as their tool, not a rule being forced upon them.
This collaborative approach guarantees the final document reflects the reality of the shop floor, not some idealized version from the office. It builds a sense of ownership that is absolutely critical for success.
Choosing the Right Format for the Job
A wall of text is rarely the answer. The format of your standard operating procedure manufacturing document has to fit the task. Trying to use a single template for everything is a recipe for failure. In a busy shop, visual guides are almost always better.
Think visually. Would a few clear photos make a complex assembly sequence easier to follow? Would a 30-second video showing the right technique for applying stain be more effective than three paragraphs of text? You bet it would.
Picking the right format is key to creating a resource people will actually use. Here's a quick guide to help you decide.
| Choosing the Right SOP Format for Your Task | Best For | Example Use Case in Woodworking |
|---|---|---|
| Simple Checklist | Routine, linear tasks that require verification but little explanation. | Performing the daily startup and safety check on the table saw. |
| Step-by-Step Guide with Photos | Processes with critical visual details where the appearance of the workpiece matters at each stage. | Documenting a multi-stage distressing or antiquing finish on cabinetry. |
| Hierarchical Steps | Complex procedures with several distinct phases, each containing its own sub-tasks. | The complete process for assembling, fitting, and hanging a set of inset cabinet doors. |
| Video Demonstration | Tasks that involve specific physical motions, techniques, or sounds that are difficult to describe in writing. | Showing the correct hand-over-hand technique for edge banding a curved panel. |
By tailoring the format to the process, you create something that’s genuinely helpful and easy to reference on the fly, which makes all the difference.
Review and Final Sign-Off
Okay, so you have a draft. Don't just stick it in the binder and call it a day. The last step before any SOP goes live is a crucial feedback loop with the people who will actually be using it.
First, get a peer review. Ask another skilled operator—someone who wasn't involved in writing it—to perform the task using only your draft SOP. This is the ultimate stress test. If they can get it done perfectly without asking questions, you're in great shape.
Next, ask for honest feedback. Is anything confusing? Is there a better, safer, or faster way to do a certain step? This is your chance to fine-tune the procedure before it becomes the official standard.
Finally, get a formal sign-off from the key players, like the department lead and the operator who helped you create it. This simple act seals the deal, confirming that everyone is on board and agrees this is the new standard way of working. It reinforces that collaborative spirit and sets you up for a smooth rollout.
Bringing SOPs to Life: Real-World Examples for a Modern Workshop
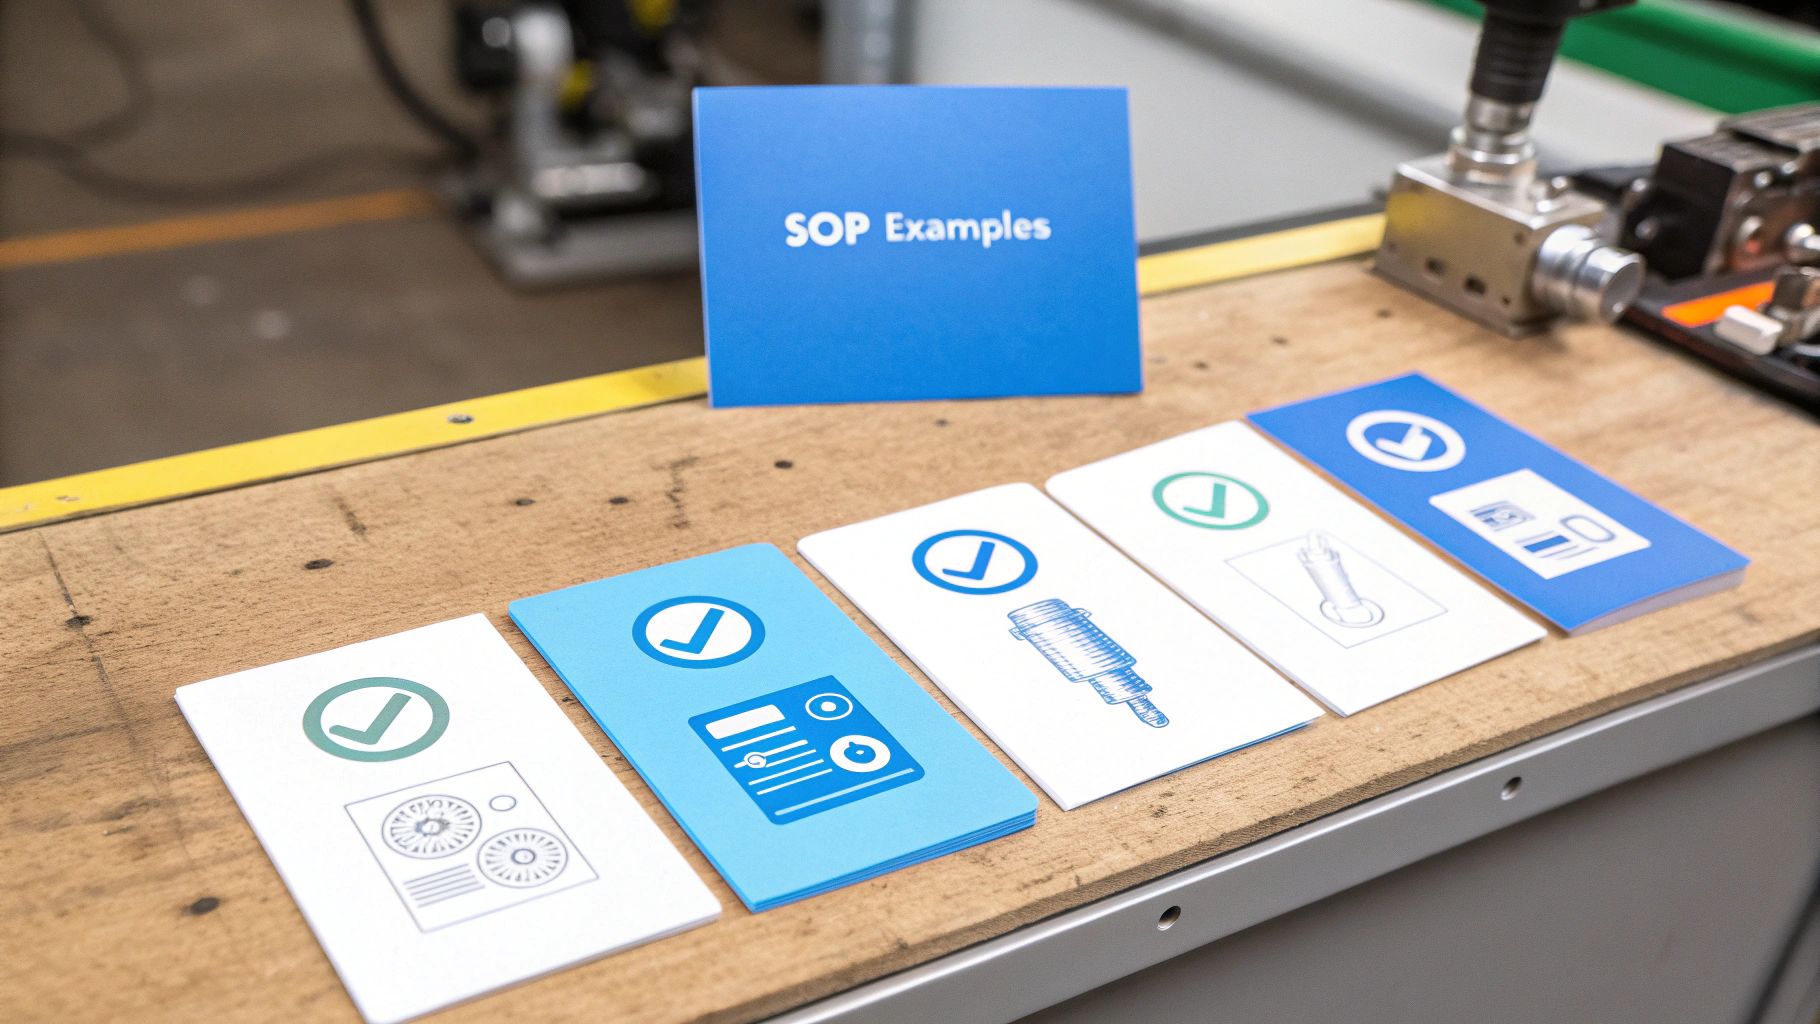
Alright, let's get out of the weeds of theory and onto the shop floor. The real value of an SOP comes to life when you see it in action. These aren’t just generic templates; these are practical blueprints pulled straight from successful custom manufacturing and woodworking shops.
I've laid out a few different examples here. Each one tackles a common, high-stakes area where you absolutely cannot afford inconsistency. We'll look at everything from a potentially dangerous machine setup to a detailed finishing schedule, giving you a solid standard operating procedure manufacturing model you can adapt.
Example 1: CNC Router Tool Change Protocol
Changing a tool on a CNC is a routine job, but it’s loaded with risk. A tiny mistake can wreck a workpiece, snap a bit, or cause a serious injury. This is the perfect place for a visual SOP with big, bold safety callouts.
SOP Title: CNC Router Tool Change (Haas VF-3) Purpose: To ensure the safe and accurate exchange of cutting tools in the CNC spindle, preventing equipment damage and maintaining machining precision.
Preparation & Safety Check
- Confirm Program Stop: First thing's first—make sure the program is completely stopped. No exceptions.
- Gear Up: You'll need safety glasses and cut-resistant gloves for this.
- Clear the Deck: Get all loose tools, off-cuts, and junk away from the machine bed and spindle area.
The Swap: Tool Out, Tool In
- Home the Spindle: Use the controller to send the spindle to its designated tool change position (X=0, Y=0, Z=Home).
- Release the Tool: Press and hold the ‘Tool Release’ button. You’ll hear that pneumatic hiss—that’s your cue the collet has disengaged.
- Secure the Exchange: With the new tool ready in one hand, use your other gloved hand to carefully pull the old tool holder out. Never, ever let the tool holder just drop.
- Quick Inspection: Glance inside the spindle taper. See any dust or gunk? Wipe it clean with a lint-free cloth.
- Seat the New Tool: Slide the new, pre-measured tool holder up into the taper. Let go of the ‘Tool Release’ and give it a gentle tug to make sure it's seated tight.
Verification & Green Light
- Set the Offset: Use the automatic presetter to measure the new tool's length. Get that value punched into the tool offset table.
- Air-Cut First: Before you cut wood, do a quick "dry run." Run the first few lines of the G-code with the spindle 5 inches above the material. This is your final sanity check to ensure the path looks right.
Example 2: Three-Stage Finishing Process
Finishing is where craft meets chemistry. An SOP doesn't kill the artistry; it just makes sure the chemistry part is repeatable, so every piece has that same flawless look. A simple checklist is a fantastic tool for this.
SOP Title: Application of Three-Stage Satin Lacquer Finish Purpose: To standardize the process for applying a durable and consistent satin lacquer finish to hardwood cabinet doors.
- Prep is Everything: Surface must be sanded to a perfect 220-grit finish. Blow it off with compressed air, then hit it with a tack cloth. No excuses.
- Sealer Coat: Apply one even coat of vinyl sealer. Your HVLP gun should be set at 40 PSI.
- Dry & De-Nib: Let the sealer dry for a minimum of 60 minutes. Then, give it a light scuff sand with a 320-grit foam pad to knock down any dust nibs.
- First Lacquer Coat: Spray the first coat of satin lacquer. You need a 50% overlap on every pass to avoid stripes.
- Wait for It: Give that first coat at least 4 hours to cure. The room needs to be dust-free and above 65°F.
- Final Lacquer Coat: Apply the second and final coat.
- Cure & Inspect: Let the piece cure for a full 24 hours before anyone handles it. Final inspection happens under an angled light to catch any imperfections.
A checklist like this makes sure nobody forgets the small stuff, like specific grits or minimum drying times. That’s what separates a good finish from a great one.
Example 3: Final Assembly Quality Assurance
This is your last line of defense before a product goes out the door. A QA checklist here isn't just paperwork; it's your promise to the customer. A table format with clear tolerances works wonders.
SOP Title: Final QA Checklist for Frameless Cabinet Assembly Purpose: To verify that all assembled cabinets meet our quality standards for fit, finish, and function before packaging.
| Checkpoint | Specification | Pass/Fail |
|---|---|---|
| Box Squaring | Diagonal measurements must be within 1/16" of each other. | ☐ Pass / ☐ Fail |
| Door/Drawer Gaps | All reveals must be a uniform 1/8" (+/- 1/32"). | ☐ Pass / ☐ Fail |
| Hardware Function | Hinges and slides operate smoothly with zero binding. | ☐ Pass / ☐ Fail |
| Surface Inspection | No visible scratches or finish defects from 3 feet away under good light. | ☐ Pass / ☐ Fail |
| Interior Cleanliness | All dust and debris vacuumed from the cabinet interior. | ☐ Pass / ☐ Fail |
Example 4: Raw Material Receiving & Inventory
Your entire production flow starts the moment a lumber truck pulls in. How you inspect, label, and store those materials dictates quality and traceability down the line. A clear, procedural SOP is non-negotiable here. It's a cornerstone of any good standard operating procedure manufacturing system.
For more hands-on tips to improve shop efficiency, the TimberCloud blog is packed with great insights.
SOP Title: Receiving and Storing Hardwood Lumber Purpose: To establish a consistent method for inspecting, labeling, and storing incoming raw lumber to ensure material quality and accurate inventory tracking.
- Unload and Count: Get the lumber into the receiving area. Right away, do a piece count and check it against the bill of lading. If anything's off, note it immediately.
- Check Moisture: Grab your moisture meter and check a random sample of about 10% of the boards. You're looking for an average between 6-8%. If it's outside that range, the purchasing manager needs to know.
- Grade It: Now, visually inspect every board. Look for major defects—big knots, splits, severe warping. Sort the lumber into your A-grade and B-grade stacks.
- Date and Tag: Every board gets marked on the end grain with a grease pencil: delivery date and supplier code. This is how you ensure a first-in, first-out (FIFO) system actually works.
- Stack and Log: Stack the lumber in the racks using stickers every 12 inches for proper airflow. The final step is updating your inventory log with the new board footage. Don't walk away until it's done.
Rolling Out SOPs and Getting Your Team Onboard
You can write the most brilliant set of SOPs in the world, but they aren't worth the paper they're printed on if they just sit in a binder collecting dust. The real challenge—and where the magic happens—is bringing them to life on the shop floor. Getting your team to embrace new procedures is all about communication, training, and proving that these aren't just more rules from the office.
This isn't about top-down enforcement. It's about showing your crew that these documents are designed to make their lives easier. Frame it as a tool for empowerment. Explain how a clear SOP eliminates the frustrating guesswork, prevents those all-too-common mistakes, and ultimately creates a safer, less stressful place to work. When your team sees these guides as a way to win, you're halfway there.
It All Starts with Communication
Before you even think about handing out a single document, you have to set the stage. Announce the changes in a team huddle, not just a memo or an email that gets buried in an inbox. This is your chance to personally explain the "why" behind it all.
Get specific and connect the SOPs directly to the guys on the floor. Talk about how the new finishing SOP is going to slash the amount of frustrating rework. Explain how the CNC tool change protocol is there to make sure everyone goes home safe at the end of the day. When your team understands that you’re solving their problems, you’ll get buy-in instead of eye-rolls.
The goal isn't just to get people to follow the rules. It's to build a culture where doing things the right way becomes second nature. Think of SOPs as the shop's collective wisdom, finally written down to make everyone’s job better and more consistent.
Once you’ve laid the groundwork, it’s time for hands-on training. Don't just give them a binder and hope for the best.
How to Run a Training Session That Actually Works
A good training session builds confidence and nips problems in the bud. People learn by doing, not by reading.
- Show, Don't Just Tell: Walk through the new SOP yourself first. Talk through each step, pointing out the critical details and any safety callouts. Let them see what "right" looks like.
- Let Them Drive: Next, have each team member perform the task while you or a senior operator watches. This is where you can offer real-time feedback and correct little issues before they become bad habits.
- Make it a Safe Space for Questions: Encourage everyone to speak up. "Is there a faster way to do this?" "What happens if this part doesn't fit?" This is your best chance to clear up confusion.
This hands-on approach makes sure the process is understood in practice, not just in theory. It's also your final gut-check to see if any steps are awkward or just don't make sense in the real world.
A Smarter Rollout Strategy
Trying to launch every single SOP at once is a classic mistake. It's a surefire way to overwhelm your team and create chaos. The smarter play is to start small and score an early win.
Pick one high-impact process to begin with—maybe it’s the way raw materials are received and checked, or a critical quality inspection point. By focusing your energy on one area, you can provide top-notch training and support. Once the team sees the results for themselves—fewer material defects, faster inspections, less confusion—they'll actually be eager to see what's next.
The industry is moving this way, too. With 57% of manufacturers already using cloud computing, managing SOPs digitally is quickly becoming standard practice. Going digital means everyone always has the latest version at their fingertips, and it makes tracking updates a breeze. You can discover insights on SOP management at Data Insights Market to see how this trend is shaping modern shops.
This is where having a single system to manage everything really pays off. You can get a feel for how an integrated platform helps by looking at TimberCloud's straightforward pricing and features. When you pull your team into the final review and show them how these documented standards genuinely improve their day-to-day work, you're not just implementing a process—you're building a more collaborative and efficient workshop.
Turning Good SOPs Into Great Processes
https://www.youtube.com/embed/ccaKcTKvQbg
An SOP is not a "set it and forget it" document. The best standard operating procedure manufacturing systems are living, breathing parts of your workshop that evolve right along with your business. Writing them down is just step one; the real magic happens when you build a feedback loop that makes them continuously better.
This is how you shift from simply documenting what you do now to actively building a more efficient and profitable future. It’s about creating a system where your procedures are constantly refined by real-world data and the hard-won expertise of your crew on the floor.
Identifying KPIs That Matter
So, how do you know if your new SOPs are actually making a difference? You have to measure their impact. Key Performance Indicators (KPIs) are the specific, measurable data points that prove your procedures are doing more than just collecting dust in a binder.
Instead of just guessing, start tracking concrete metrics that tie directly to your bottom line:
- Reduced Material Waste: Are your optimized cut lists and material handling SOPs actually leading to less scrap? By how much?
- Fewer Product Defects: Is that new quality assurance checklist catching errors before they become costly remakes?
- Faster Setup Times: Did the visual SOP for CNC tool changes demonstrably cut down on machine downtime between jobs?
- Improved On-Time Delivery: Are your streamlined assembly procedures helping you get products out the door more predictably?
Tracking these KPIs gives you the hard data you need to justify the time spent creating and maintaining your SOPs.
Creating a Powerful Feedback Loop
Your team on the shop floor knows what really works. They're the ones who know the sticking points, the awkward steps, and the clever workarounds that never make it into a formal document. Tapping into that firsthand knowledge is the secret to refining your procedures from good to great.
Make it easy and routine to gather feedback. A quick weekly huddle or a simple suggestion box can uncover priceless insights. Don't be afraid to ask direct questions: "Is the new finishing SOP making things easier or harder? Why?" This creates a direct line of communication that empowers your team and turns them into active partners in improving the business.
This simple workflow shows the continuous cycle of communication, training, and launching improvements.

This visual drives home the point that rolling out an SOP isn't a one-and-done event—it’s a cycle that feeds back into itself with fresh insights from your team.
Scheduling Regular Reviews
Processes change. It's a fact of life in any shop. You buy a new piece of equipment, a supplier changes a material formulation, or your team simply discovers a better, faster way to do something. To keep your SOPs from becoming obsolete, you need to schedule regular check-ins.
An outdated SOP can be more dangerous than no SOP at all. A scheduled review process ensures your documented procedures always reflect the reality of your shop floor.
Set a simple calendar reminder for a quarterly or semi-annual review of your most critical SOPs. This doesn't have to be a massive overhaul. It's often just a quick check to incorporate new tools, materials, or those improved techniques your team has developed. When you integrate your operational data, you can see exactly which processes are performing well and which ones need a tune-up. To see how this works in an all-in-one system, explore the features of the TimberCloud platform.
The payoff for this diligence is huge. Manufacturers who rigorously tie their SOPs to technology see major gains—industry data shows defect rates can drop by 30% and downtime by as much as 50%. By using detailed SOPs for things like predictive maintenance, some shops have cut maintenance costs by up to 40%. This is the power of turning good documents into great, data-driven processes.
Questions We Hear All the Time About SOPs
Even when shop owners are sold on the idea of SOPs, I get it—the practical side of things can seem daunting. In a busy custom shop where every day is different, bringing in a formal system raises some totally fair questions. Let's dig into the ones that come up most often.
"How Can I Possibly Write SOPs Without Killing My Production Schedule?"
This is hands-down the number one concern. You're running a business, not a technical writing firm. The idea of stopping everything to create a huge binder of rules is a non-starter.
And you shouldn't. The trick is to chip away at it.
Pick one critical process—maybe the one that causes the most mistakes or has the biggest safety risk. Then, spend just 30-60 minutes a week shadowing your most skilled person on that task. Watch what they do. Snap photos with your phone, jot down the key steps, and ask them why they do it a certain way. This way, documentation happens in the background, not by shutting down a work center.
"Where Should We Actually Keep These Things?"
That dusty three-ring binder forgotten on a shelf in the office? That's where SOPs go to die. For these documents to be useful, your team needs them at their fingertips, right on the shop floor.
Accessibility is everything. Think digital. A rugged tablet or a dedicated computer at a workstation is the way to go.
A few solid options:
- Shared Cloud Drive: Something as simple as Google Drive or Dropbox works great to start. You can create folders for each department or machine and fill them with PDFs, videos, and photos.
- Wiki-Style Knowledge Base: Tools like Notion let you build a more organized, searchable database. It feels less like a folder and more like your shop's own private Google.
- ERP Integration: This is the gold standard. A system like TimberCloud can link your SOPs directly to the work order. When a job for a CNC part comes up, the setup SOP is right there with it. It connects the "how-to" with the "what-to-do."
My rule of thumb is this: if a team member can't find the procedure they need in three clicks or less, the system is too complicated. They'll just ignore it and ask someone instead.
"How Do We Stop Our SOPs From Getting Stale?"
An outdated SOP is often worse than no SOP at all. It can create confusion, lead to mistakes, or even become a safety hazard if you've since adopted a better method.
Your documents have to be living things, not relics. The key is to build a simple review cadence.
Assign an "owner" to every SOP. This is usually the department lead or the veteran operator who knows that process inside and out. Then, just set a recurring calendar reminder—every quarter is a great starting point—for them to give it a quick once-over. The goal is simple: does this document still reflect the best, safest, and most efficient way we do this job today? This small habit ensures your documentation keeps pace with your shop's improvements.
Ready to tie your SOPs directly into your daily workflow? TimberCloud brings everything together on one platform, from custom product design and quoting to automated production planning and real-time shop floor updates. Find out how our system can bring this level of clarity and control to your shop.
Topics
TimberCloud Team
Content Team
The TimberCloud team is dedicated to helping manufacturers streamline their operations with intelligent software solutions.