How to Use a bill materials template to streamline BOMs

A bill of materials is far more than just a shopping list. For a custom woodworking shop, it's the bedrock of every single job. This document is the comprehensive breakdown of every component, every piece of hardware, and every raw material you need to bring a project to life.
Think of it as the blueprint for profitability. It’s what ensures your quotes are accurate, your material purchases are spot-on, and your build process is as efficient as possible. Flying blind without a solid BOM is just guessing, and in this business, guessing costs money.
Why Your Shop Needs a Smarter Bill of Materials
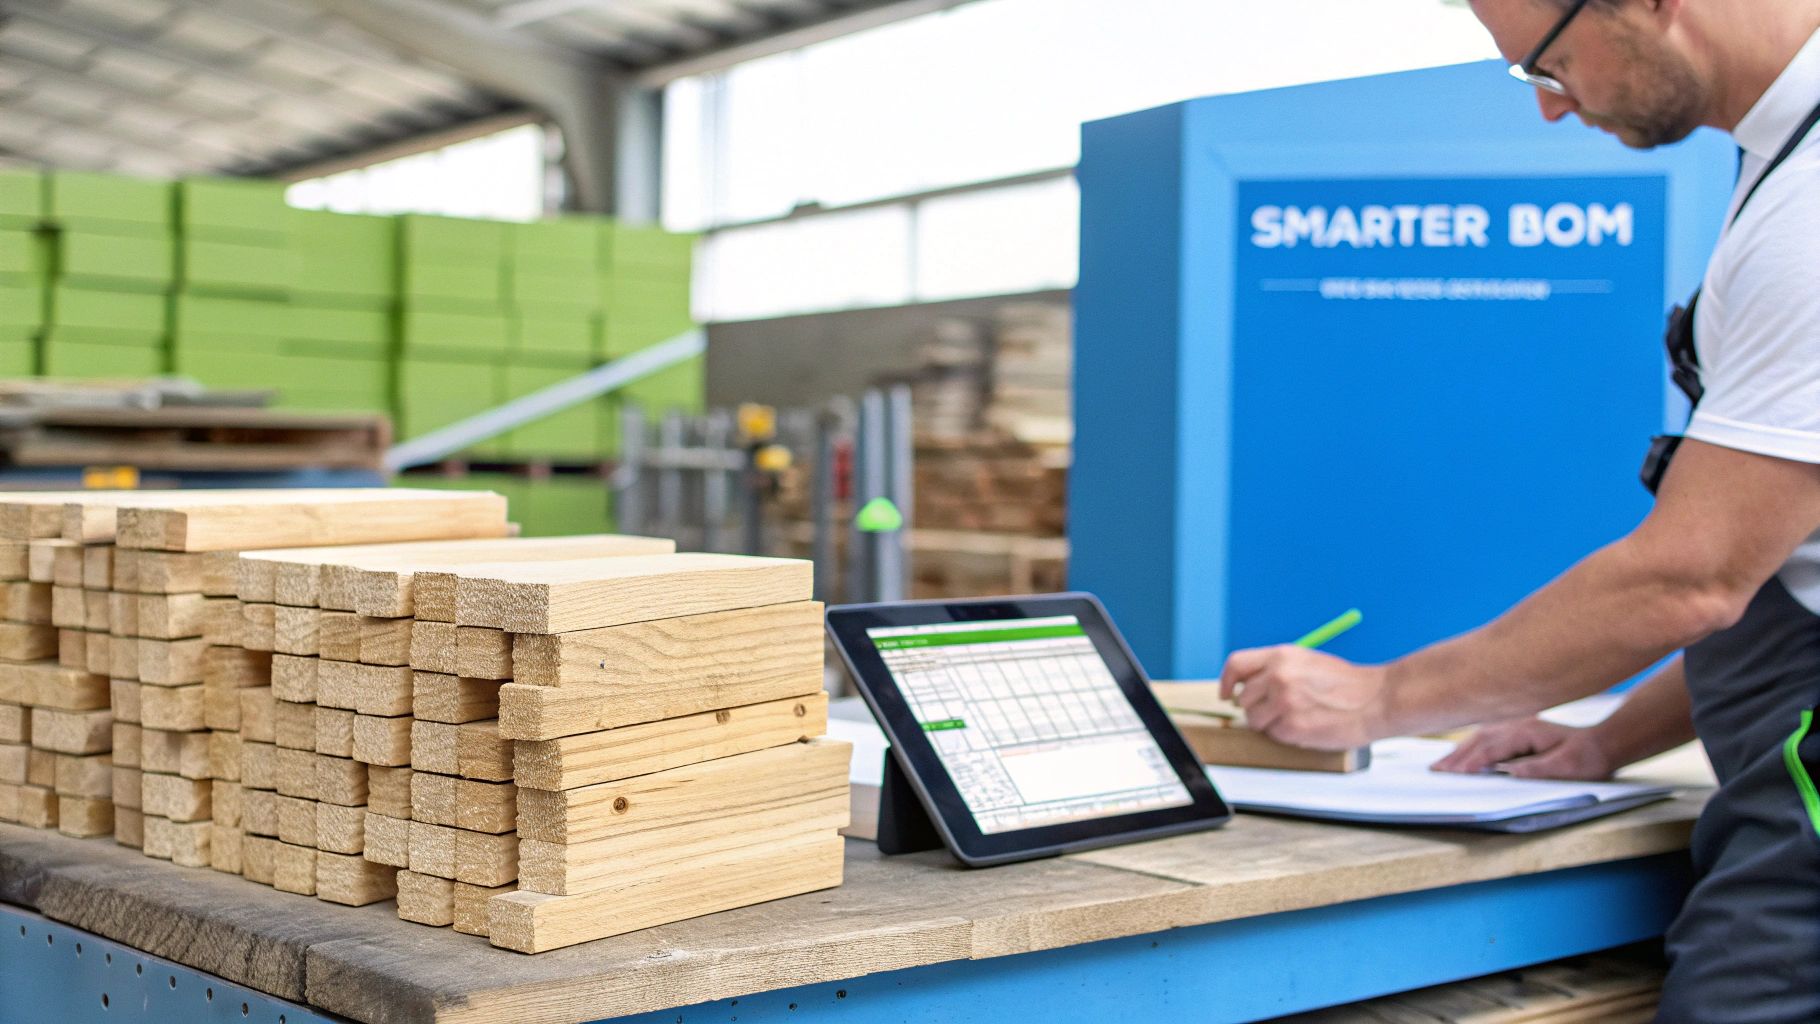
Jumping into a complex build without a detailed plan is a surefire way to bleed profits and waste good material. We've all been there—a few scribbled notes on a scrap of plywood suddenly becomes the "master plan," only for you to realize halfway through assembly that you’re short on drawer slides or ordered the wrong thickness of maple.
A well-structured Bill of Materials (BOM) is your single best defense against these all-too-common headaches. It’s not just paperwork; it’s the central nervous system of your operation, connecting your design, purchasing, and shop floor teams with a single source of truth.
The Real Cost of a Bad BOM
Let's look at a classic workshop nightmare: a custom kitchen cabinet job. The shop’s "BOM" was a handwritten list that simply said "Walnut Plywood - 8 sheets" and "Blum Hinges - 30." The problems started piling up almost immediately. The plywood was ordered without specifying the grade, so the grain patterns were a complete mismatch. The hinge count was just a ballpark guess, and they ended up four hinges short, causing a full-day delay while someone made an emergency run to the supplier.
This seemingly small oversight created a painful domino effect:
- Wasted Time: The project ground to a halt waiting for the right materials.
- Lost Profit: The extra supplier trip and the cost of the correct hinges came directly out of the job's margin.
- Damaged Reputation: The client definitely noticed the delay, creating friction and damaging trust.
A detailed BOM template turns assumptions into certainties. It forces you to think through every screw, every board foot, and every minute of labor before a single tool is turned on, protecting your margins and your timeline.
The Power of a Detailed Template
Now, imagine that same project handled by a shop using a proper bill of materials template. Before anything was ordered, they broke the job down into its core assemblies—cabinet boxes, doors, and drawer fronts.
Their BOM specified "3/4" A1 Grade Walnut Plywood," including the exact cut dimensions for each part. It listed the specific model number for the soft-close hinges and calculated the precise quantity needed.
The result was a completely different story. The purchasing manager ordered exactly what was required, the wood arrived correctly graded, and the assembly team had a clear, component-by-component guide. The project was finished on schedule and came in under budget.
This move toward precision is happening all over our industry. The Bill of Materials software market was valued at $2.5 billion in 2023 and is projected to hit nearly $4.8 billion by 2032. This explosive growth shows just how crucial precise material management has become. A smart BOM isn't just a nice-to-have; it's the foundation for scaling your business.
Modern platforms are taking this even further. For instance, integrated systems from providers like TimberCloud can link your BOM directly to live inventory, automated purchasing, and production workflows, giving you an incredible level of control over your entire operation.
Laying the Foundation: Building Your Core BOM Template
Alright, let's get our hands dirty and build the BOM template that’s going to be the workhorse for your shop. Forget complex software for a minute—starting with a simple spreadsheet is the best way to get intentional about every single piece of information you track. The real goal here isn't just to make a list. It's to create a single source of truth that everyone from purchasing to the shop floor can understand without a single question.
A well-built template is your best defense against confusion. When your supplier, your lead cabinetmaker, and your finisher all look at the same document, there should be zero ambiguity. That’s how you eliminate those "I thought you meant..." conversations that always end up costing you money.
The Must-Have Fields for Any Woodworking BOM
Let's break down the essential columns. These are the non-negotiables, the fields that prevent mistakes before they even have a chance to happen.
- Part Number (PN): Every single piece needs a unique ID. A good system brings order to the chaos of a complex build. Something like (for example,
[ProjectID]-[AssemblyCode]-[Part#]for the first part of a cabinet assembly in project 1024) is smart because it scales and tells a story at a glance.1024-CAB-001 - Description: Be painfully specific. "Side Panel" is lazy. "Left Cabinet Side Panel, 3/4" Walnut Plywood" is useful. Specificity is your best friend—it stops someone from grabbing the wrong sheet goods or cutting a part for the wrong cabinet.
- Quantity (Qty): Seems simple, but this is a classic spot for typos that lead to shortages or over-ordering. Always double-check your counts, especially for hardware like screws and hinges. This number should be the total needed for the entire project.
- Unit of Measure (UoM): This one is critical. We work with materials sold in every unit imaginable. Is that walnut priced by board feet (BF), linear feet (LF), or as a single piece (EA)? Getting this wrong is the difference between ordering what you need and getting a surprise delivery that’s completely useless.
Getting into the Details: Dimensions and Material Specs
Once you have the basics down, the next columns are what turn your BOM from a shopping list into a real manufacturing guide.
- Material Type: Again, specifics matter. "Oak" doesn't cut it. "Quarter Sawn White Oak, FAS Grade" tells purchasing exactly what to buy and ensures the quality is right. This goes for hardware, too. Don't just write "hinge"; specify "Blum 110-degree Soft-Close Hinge, Inset."
- Finish Dimensions (L/W/T): These are the final, post-machining dimensions (Length, Width, Thickness). I always recommend giving each its own column. It makes the data infinitely easier to sort, filter, and eventually feed into a cut-listing program.
- Raw Material Dimensions: Sometimes, it’s a good idea to track the size of the raw stock a part comes from. This is a game-changer for calculating waste and planning your material yield, which flows right back to your bottom line.
A great bill of materials doesn't just list what you need; it communicates intent. Every column should answer a question before it's asked on the shop floor, saving countless hours and preventing costly rework.
Structuring for Clarity on Complex Jobs
As you build this out, think about how you’ll actually use it. A flat list is fine for a simple coffee table. But for a full kitchen of cabinets? You need more structure. This is where an Assembly or Sub-Assembly column comes in.
This one simple addition lets you group related parts. All the components for a single drawer box—the front, back, sides, and bottom—can be tagged under "Drawer Box 1." Suddenly, it’s dead simple for an assembler to grab everything they need for one task instead of hunting through a monster list of 200 parts.
Here’s a simple table structure you can build out in any spreadsheet program to get started with your own bill of materials template:
| Part Number | Description | Assembly | Qty | UoM | Material Type | Finish L (in) | Finish W (in) | Finish T (in) |
|---|---|---|---|---|---|---|---|---|
| 1024-DRW-001 | Drawer Front, Shaker Style | Drawer 1 | 1 | EA | Hard Maple, Select | 24 | 8 | 0.75 |
| 1024-DRW-002 | Drawer Side, Left | Drawer 1 | 1 | EA | Baltic Birch Plywood, 1/2" | 22 | 7 | 0.5 |
| 1024-DRW-003 | Drawer Side, Right | Drawer 1 | 1 | EA | Baltic Birch Plywood, 1/2" | 22 | 7 | 0.5 |
| 1024-HW-001 | Drawer Pull, Brushed Nickel | Hardware | 1 | EA | Amerock BP53005-G10 | N/A | N/A | N/A |
This clean, organized structure is your foundation. Once you get comfortable with it, you can start adding more advanced fields like vendor info, lead times, and costing, turning this simple spreadsheet into a seriously powerful project management tool.
Using Multi-Level BOMs for Complex Projects
For a simple project, like a walnut cutting board, a single, flat-file BOM works just fine. You list every part, account for every material, and you're good to go. But what happens when you move up to a custom kitchen cabinet package or a complex built-in media center? That simple list quickly becomes a tangled, unmanageable mess.
This is exactly where a multi-level bill of materials template shows its true power. Instead of wrestling with one massive list of 250 individual parts, you start organizing the project hierarchically—the same way you actually build it. It’s a much more intuitive approach that mirrors the real-world workflow on your shop floor.
Thinking in Assemblies
The central idea behind a multi-level BOM, sometimes called an indented BOM, is breaking a big, complicated product down into smaller, logical sub-assemblies.
Let’s take a custom vanity project as an example. The final product (Level 0) isn't just a pile of wood and hardware. It's really a combination of several major components, and each of those can be treated as its own mini-project with its own bill of materials.
- Main Cabinet Carcass: This is a sub-assembly. Its BOM would list the side panels, bottom, back, and any fixed shelving.
- Drawer Box Assembly: This is another sub-assembly. This list would contain the drawer front, sides, back, and bottom panel.
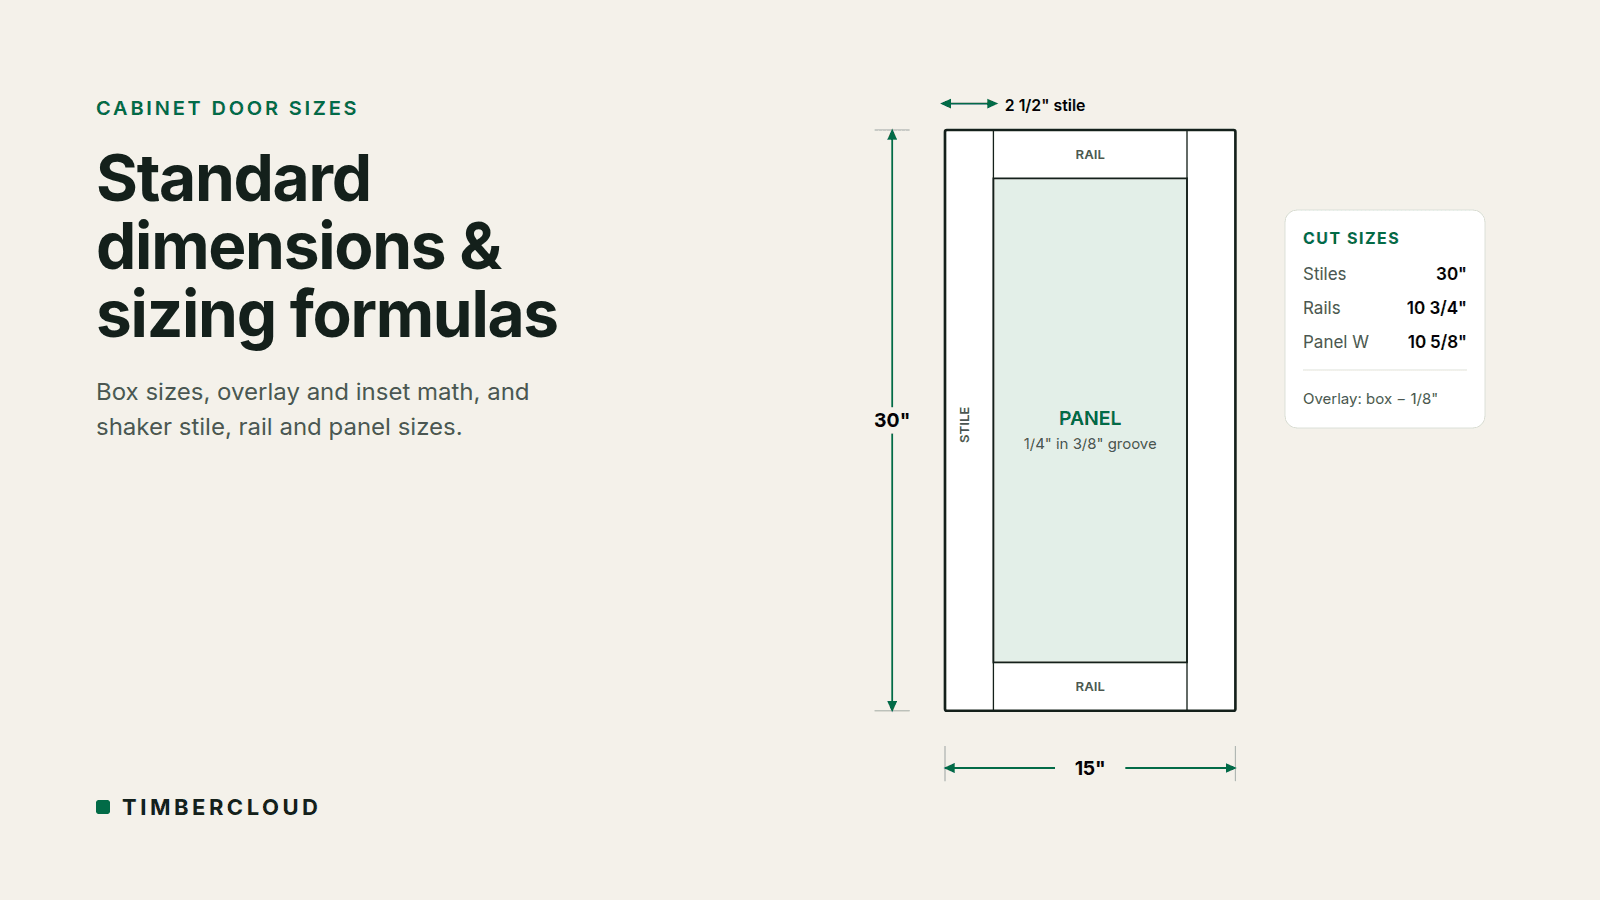
- Door Assembly: A third sub-assembly, this one listing the stiles, rails, and center panel needed to build the door.
When you structure your bill of materials template this way, you create a natural parent-child relationship between components. The main vanity is the parent; the carcass, drawers, and doors are its children. This simple shift in thinking brings incredible clarity to an otherwise complex build.
This diagram shows how a core BOM template can break down a project into its essential pieces.
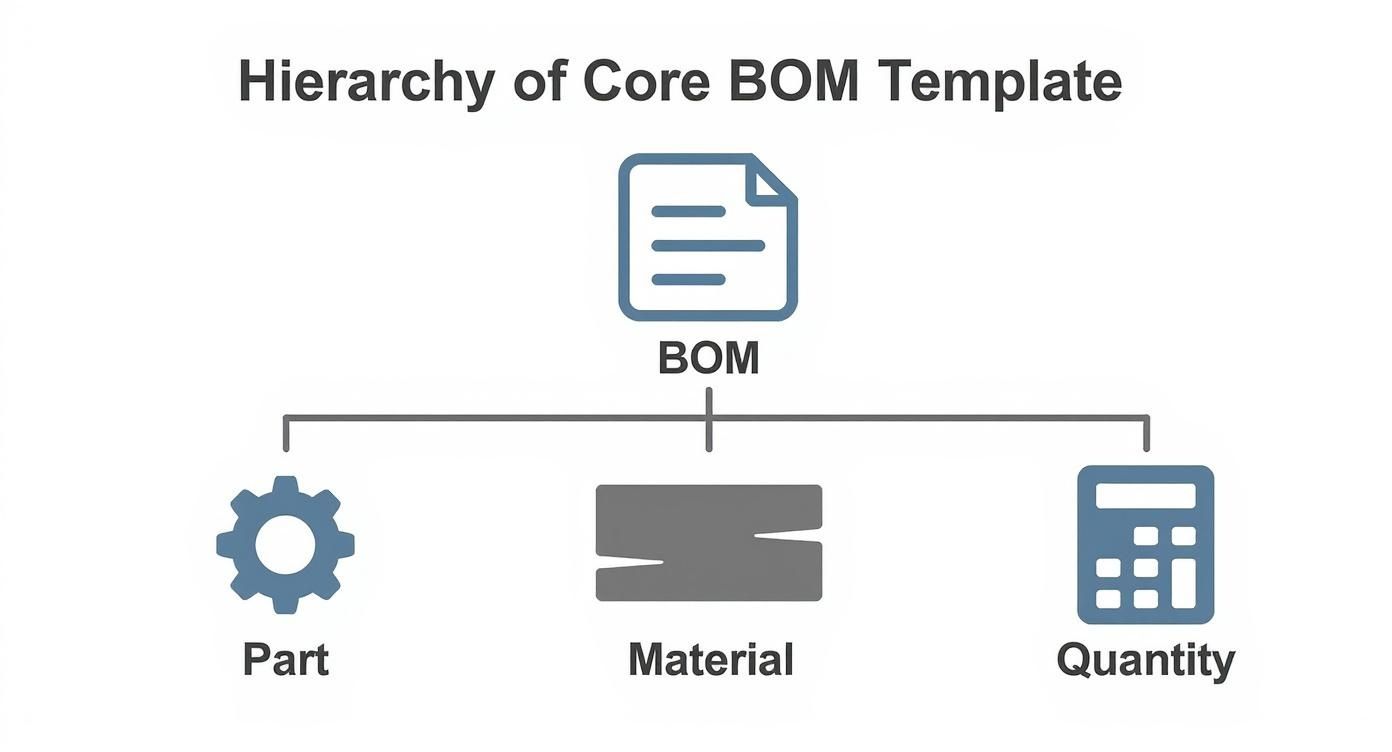
This kind of hierarchical view makes it crystal clear how each part and material feeds into the final product, ensuring nothing gets missed.
The Practical Benefits on the Shop Floor
This isn't just a paperwork exercise; it has real, tangible benefits that save time and cut down on errors. When your assembler needs to build the drawer boxes, they don't have to sift through a master list of every single component for the entire vanity. They just pull up the "Drawer Box Assembly" BOM.
Suddenly, they see exactly what they need for that specific task. This focused approach gets rid of the guesswork and confusion, which dramatically speeds up the assembly process. It also makes quality control way easier because you can check and approve each sub-assembly before it moves on to final integration.
A multi-level BOM transforms your material list from a static document into a dynamic roadmap for production. It guides your team through the build sequence logically, reducing the mental load and minimizing the chance of assembly errors.
How to Structure a Multi-Level BOM
Getting this structure set up in a spreadsheet is pretty straightforward. You just need to add a "Level" column and then use indentation in your "Description" column to create the visual hierarchy.
| Level | Part Number | Description | Qty |
|---|---|---|---|
| 0 | 1025-VNT-00 | Custom Bathroom Vanity | 1 |
| 1 | 1025-CRC-00 | Cabinet Carcass Assembly | 1 |
| 2 | 1025-CRC-01 | Left Side Panel | 1 |
| 2 | 1025-CRC-02 | Right Side Panel | 1 |
| 2 | 1025-CRC-03 | Bottom Panel | 1 |
| 1 | 1025-DRW-00 | Drawer Box Assembly | 2 |
| 2 | 1025-DRW-01 | Drawer Front | 2 |
| 2 | 1025-DRW-02 | Drawer Side (Set of 2) | 2 |
As you can see, Level 1 items are the major sub-assemblies, and Level 2 items are the individual components that make them up. This structure gives you a clean, top-down view of the whole project while still holding onto the granular details needed for purchasing and manufacturing.
This approach simplifies everything from ordering materials to final assembly. Your purchasing person can easily figure out the total number of drawer slides needed by looking at the "Drawer Box Assembly" quantity. Meanwhile, your team on the floor can focus on building one complete sub-assembly at a time. It’s a game-changing method for managing complexity and a foundational step toward a more organized, profitable workshop.
Integrating Costing and Version Control
A bill of materials that just lists parts is only doing half the job. To get a real grip on your profitability, you need to turn that static list into a living, breathing costing tool. This is how you stop just listing what you need and start understanding the real financial impact of every single choice you make.
And let's be honest, a BOM is never finished until the project is delivered. Designs evolve, clients have second thoughts, and material availability can change overnight. If you don't have a disciplined way to manage those changes, you’re gambling with building from an outdated plan—a mistake that can easily cost you thousands in wasted wood and rework.
Let's tackle both of these critical elements head-on.
Turning Your BOM into a Profitability Engine
The first move is simple: add two new columns to your bill of materials template—Unit Cost and Total Cost.
- Unit Cost: This column is for the price of a single unit of each item, based on whatever Unit of Measure (UoM) you're using. For a sheet of plywood, it’s the cost per sheet. For walnut, it’s probably the cost per board foot. For a box of hinges, it's the cost per piece.
- Total Cost: Here’s where the magic happens. This column is just a basic formula: . In an instant, you can see the total cost for every single line item in your project.
Quantity x Unit Cost
Once those are in place, you just sum the 'Total Cost' column to get an immediate, accurate snapshot of your total material spend. This is huge for quoting, but it also helps you make smarter design decisions on the fly. You can instantly see the cost difference between building a cabinet from premium walnut versus a more budget-friendly maple.
Your BOM needs to be the single source of truth for all your project costs. When you build real-time pricing directly into your template, you take the guesswork out of your quotes and get a crystal-clear view of your margins before you even make the first cut.
The Never-Ending Challenge of Keeping Costs Current
Of course, material prices are anything but static. What you paid for Baltic birch six months ago almost certainly isn't what you'll pay for it today. This means keeping that 'Unit Cost' column updated is absolutely essential if you want your quotes to be accurate.
For a smaller shop, you might get away with updating a master material list once a month or right before you put together a big quote. But as you grow, this manual process becomes a major bottleneck. That's where specialized software becomes a game-changer, often integrating directly with supplier pricing to give you a much more current view of your expenses. You can see how different tools approach this by exploring their pricing models, like the ones detailed in this guide to woodworking shop software.
The demand for better BOM management is skyrocketing. The global Bill of Material (BOM) software market jumped from $9.1 billion in 2024 to $9.72 billion in 2025—a clear sign that shops everywhere are looking for more efficient tools. You can dive deeper into these trends in BOM software on openpr.com.
Mastering Version Control to Prevent Costly Errors
We've all been there. The client decides to switch from those brushed nickel handles to more expensive brass pulls after you've already sent the original BOM to purchasing. If that change isn't tracked perfectly, you'll end up with a box of the wrong hardware, a delay, and an unhappy client. This is exactly why version control is non-negotiable.
A simple, effective system can save you from these nightmares. It starts with a clear naming convention for your BOM files.
- File Naming: Try a consistent format like .
ProjectName_BOM_v1.0.xlsx - Minor Changes: For small tweaks like updating a dimension, just bump the decimal point (e.g., ,
v1.1).v1.2 - Major Revisions: When there's a significant change, like swapping out a primary material, increment the whole number (e.g., ).
v2.0
The other piece of the puzzle is a Change Log. Just add a new tab to your spreadsheet to track every single modification. For each change, log the version number, the date, who made the change, and a quick note about what was altered. This simple discipline ensures everyone—from the front office to the shop floor—is always working from the latest and most accurate document.
Taking Your BOM From a Simple Spreadsheet to a Shop Powerhouse
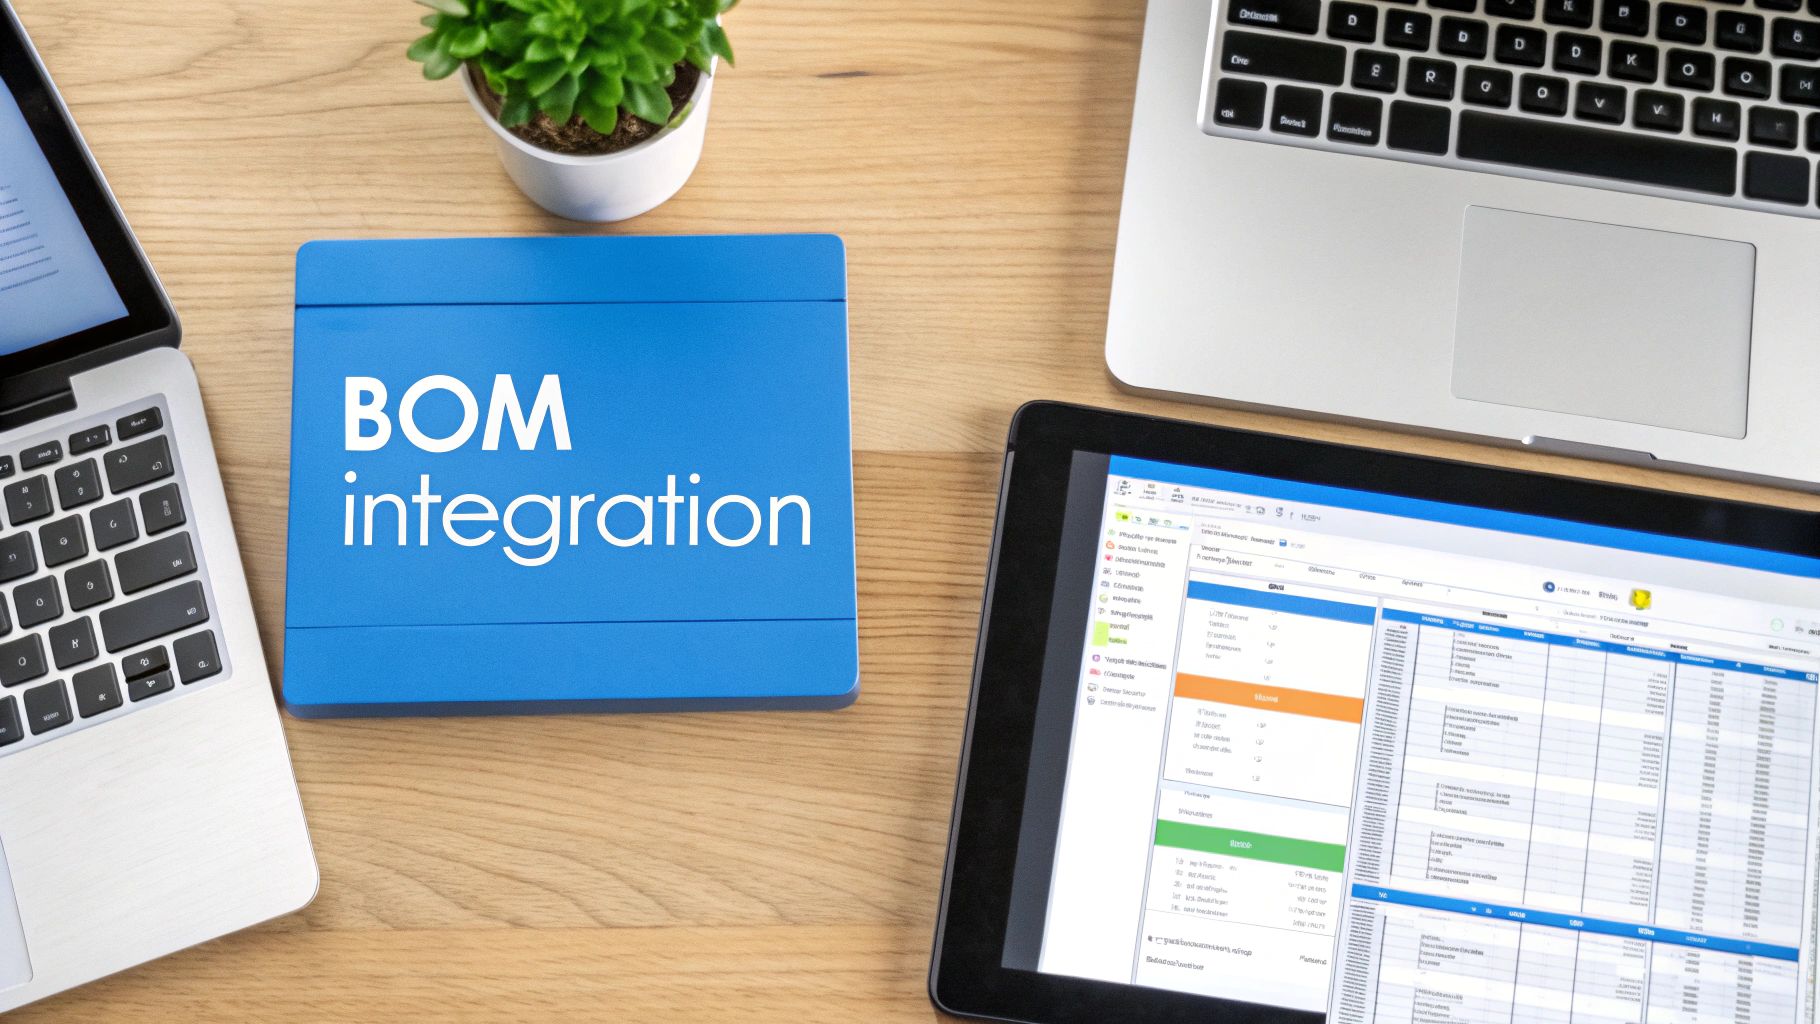
Here you can see how a modern system can link a customer's choices directly to the nitty-gritty production details, creating an instant, actionable plan for the shop floor.
Building a detailed bill of materials template in a spreadsheet is a huge step up for any shop. But let's be honest, it has its limits. A static BOM is really just a snapshot in time. It's a powerful one, for sure, but it’s still isolated from the rest of your operation.
The real magic happens when your BOM stops being a document you just look at and starts becoming an active part of your workflow. It's about connecting that list of parts and materials to the systems you use every single day. This is how you bridge the gap between planning a job and actually getting it done.
Turning a Static File into a Dynamic Engine
So, how do you make that leap? It usually starts with getting your template ready to import into a shop management platform. Most modern systems, especially those built for woodworkers, are designed to pull in data from common file types. That well-structured spreadsheet you’ve been working on, saved as a CSV (Comma-Separated Values) file, is your golden ticket.
This simple import process is what kicks off the automation. The software doesn't just store your data; it intelligently maps it. Your "Material Type" column suddenly talks to your live inventory levels. Your "Quantity" field starts informing your purchasing decisions. Those "Part Dimensions" can be fed straight into a cut list generator.
Your BOM is no longer a passive list. It's now actively working for you:
- Automatic Inventory Updates: As soon as a job gets the green light, the system can reserve or deduct all the necessary materials from your stock. You get a real-time picture of what you have and what you’re about to run out of.
- Smarter Purchasing: The software can look at the material needs for several upcoming jobs, flag any shortages, and spit out a consolidated purchase order for your suppliers in a couple of clicks. Say goodbye to manual tallying.
- Instant Digital Cut Lists: Your part dimensions are immediately translated into optimized layouts for the sawyer or CNC operator, which drastically cuts down on waste and eliminates the costly mistakes that come from manual data entry.
An integrated BOM shifts from being a historical record to a predictive tool. It stops telling you what you used on a past job and starts telling you what you will need for future ones. This gives you the foresight to stay ahead of material shortages and keep projects flowing smoothly.
Creating a Single Source of Truth for the Whole Team
The most significant benefit of an integrated system is the clarity it brings to your entire operation. When your BOM lives inside a central platform, everyone is looking at the exact same information, updated in real time.
Think about the old way of doing things. The project manager has one version of the spreadsheet on their computer. The purchasing agent has another version they've been marking up. And the shop foreman is working off a printed copy that's already a week out of date. It’s a classic recipe for expensive errors.
With an integrated workflow, a change made anywhere is instantly reflected everywhere. If an engineer tweaks a part dimension in the Product Builder, the cut list for the CNC operator updates on the spot. If the receiving department logs a new shipment of walnut, that inventory is immediately available for the next job's BOM.
This is becoming the new standard. The trend is clear: software for manufacturing, from ERPs to CAD systems, is being designed to communicate. This seamless flow of data is what defines a modern production environment.
Platforms like TimberCloud are built entirely around this idea of a unified workflow. By tying together your sales, production, and inventory, you get rid of the information silos that cause delays and eat into your profits. Taking a look at the full range of TimberCloud's features shows how a connected system can manage every detail, from the initial customer quote to the final shipment.
Your bill of materials template becomes the foundational layer of data that powers a smarter, more responsive, and, at the end of the day, more profitable business.
Got Questions About BOMs? You're Not Alone.
Even with the best game plan, switching over to a structured bill of materials template is a big change for any shop. It's a fundamental shift in how you operate, so it's only natural to run into some snags along the way. Let's dig into the most common questions I hear from woodworkers making this transition and get you some straight answers.
Think of this as your quick-start troubleshooting guide for the real world, helping you clear the hurdles you'll actually face on the shop floor.
How Detailed Does My BOM Really Need to Be?
This is, hands down, the number one question. The honest answer? It needs to be as detailed as necessary to prevent a single mistake.
Here’s a good way to test it: imagine handing your BOM to a brand-new hire who doesn't know your process. Could they take that list, order every part, and build the project correctly without asking a dozen questions? If not, you need more detail.
Sure, for a simple tabletop, listing the main components might be fine. But when you get into complex custom cabinetry, you better be documenting every hinge, every pull, every screw, and every foot of edge banding. Forgetting something as small as shelf pins is a classic rookie move that brings a job to a screeching halt.
That extra time you spend adding detail upfront? It pays you back tenfold by preventing just one costly mistake or a frustrating delay on the shop floor. Your BOM isn't just a shopping list; it's the blueprint for a successful build.
Should I Stick with a Spreadsheet or Get a Software Program?
Starting out with a spreadsheet—like Excel or Google Sheets—is the perfect first step. I always recommend it. It forces you to actually think through your process and decide what information is critical for your shop. They're flexible, basically free, and a fantastic way to build the habit of creating a BOM for every job.
But as you grow, that same spreadsheet will start holding you back. It quickly becomes a bottleneck. Trying to keep material costs updated, track different versions, and tie it all back to your inventory is a painful, manual grind just begging for errors.
That's the exact moment when dedicated software stops being a "nice to have" and becomes essential. A good system takes over the grunt work, automating updates and turning your static BOM into a living, breathing part of your entire workflow.
How Do I Handle Waste and Offcuts?
Great question. Your BOM needs to list the finished dimensions for the project, but we all know you have to buy more raw material to account for saw kerfs, snipe, and the occasional screw-up.
There are a couple of solid ways to handle this in your bill of materials template:
- Add a Waste Factor: For quoting, this is the go-to method for most shops. Just add a standard percentage (say, 15-20%) to the total board footage for a specific material. It's fast, easy, and usually gets you close enough for estimating.
- Use Raw Material Dimensions: This is the more advanced play. You add dedicated columns for "Raw L" and "Raw W" right into your template. This lets you plan your cuts much more strategically and gives you a far more accurate picture of what you're actually using versus what ends up in the scrap bin.
What About Consumables Like Glue or Sandpaper?
For the vast majority of shops, trying to track consumables like glue, sandpaper, or finish on a per-project BOM is more trouble than it's worth. The time you'd spend tracking a few squirts of glue just doesn't pay off.
The standard practice is to treat these items as shop overhead. Just calculate what you spend on all these supplies over a month or a year and bake that cost into your hourly shop rate or your overall job costing formula. This keeps your project BOMs clean and focused on the important stuff, while still making sure every single cost is covered in your pricing.
The only time I'd break this rule is if a project calls for something unusual, like a gallon of specialized, expensive epoxy or a unique finishing product you don't normally keep on the shelf. In that case, add it as a line item.
Ready to move beyond static spreadsheets? TimberCloud integrates your Bill of Materials directly into a powerful workflow that connects inventory, production, and e-commerce. See how you can automate cut lists, streamline purchasing, and get real-time visibility into your entire operation at https://timbercloud.com.
Topics
TimberCloud Team
Content Team
The TimberCloud team is dedicated to helping manufacturers streamline their operations with intelligent software solutions.