8 Smart Woodworking Shop Layout Ideas to Boost Your Workflow in 2025

The success of any woodworking project, from a simple cutting board to a full set of custom cabinets, begins long before the first piece of wood is cut. It starts with the design of your workspace. A well-planned shop layout isn't just about tidiness; it's a strategic blueprint for safety, efficiency, and profitability. It dictates how materials flow, how much time you spend walking versus working, and how easily you can adapt to new projects.
An optimized layout minimizes bottlenecks, reduces physical strain, and creates a safer environment by ensuring proper clearance around machines and managing dust collection effectively. To effectively plan and visualize your woodworking shop, mastering how to read construction blueprints is an invaluable skill that can help you translate your vision into a functional reality. In a professional setting, every saved step and minimized material movement translates directly to healthier margins and faster project turnaround. For hobbyists, it means more time spent on the craft and less on wrestling with a dysfunctional space.
This comprehensive guide explores eight distinct woodworking shop layout ideas, each tailored to different needs, spaces, and production scales. We'll move beyond simple tool placement and delve into the logic behind each configuration, covering everything from workflow and material staging to safety and ergonomics. Whether you are setting up a brand-new shop in a two-car garage or rethinking the flow of a multi-station cabinet facility, these proven models offer a framework for creating a space that works as hard as you do. We will also examine how integrating modern production systems can elevate these layouts, transforming a simple arrangement of tools into a powerful, data-driven production engine.
1. The Linear/Assembly Line Layout: The Production Powerhouse
For woodworking shops focused on production, efficiency, and throughput, the linear or assembly line layout is the undisputed champion. This model borrows principles directly from industrial manufacturing, arranging tools and workstations in a logical sequence that mirrors the production process. Material enters at one end of the shop, flows through each stage of work, and exits as a finished product at the other end, minimizing wasted movement and cross-traffic.
This is one of the most effective woodworking shop layout ideas for shops producing repeatable products like cabinetry, furniture series, or architectural millwork.
Workflow and Rationale
The core principle is a unidirectional flow. Raw materials like sheet goods and lumber are received and stored at the "dirty" end. They then progress sequentially through dedicated zones:
- Material Breakdown: This area houses the table saw, panel saw, or CNC router. It’s the first stop after raw material storage.
- Milling and Machining: Next are machines like the jointer, planer, and shaper for processing solid wood components.
- Joinery: This station includes tools like the mortiser, tenoner, or dovetail jig.
- Assembly: Workbenches, clamp racks, and hardware stations are organized here. Sub-assemblies can have their own mini-linear flows that feed into the main line.
- Sanding and Finishing: The final "clean" zone, often physically separated to control dust and fumes, houses sanding stations and a dedicated spray booth.
Implementation and Best Practices
- Ergonomics: Ensure adequate infeed and outfeed space for each machine, typically a minimum of 8-12 feet for long stock. Mobile bases for less-frequently used machines can provide flexibility.
- Dust Collection: A central dust collection system is ideal, with ductwork planned to follow the linear tool arrangement for maximum efficiency and minimal duct length.
- Staging Areas: Designate specific "landing zones" between major stations. For example, a cart for cut parts can be staged between the table saw and the joinery station. This prevents bottlenecks and keeps the main pathways clear. Integrating a system like TimberCloud allows you to map these physical staging areas to digital workflows, ensuring every part is tracked from cut sheet to assembly.
2. The Zone-Based/Work Station Layout: The Multitasking Hub
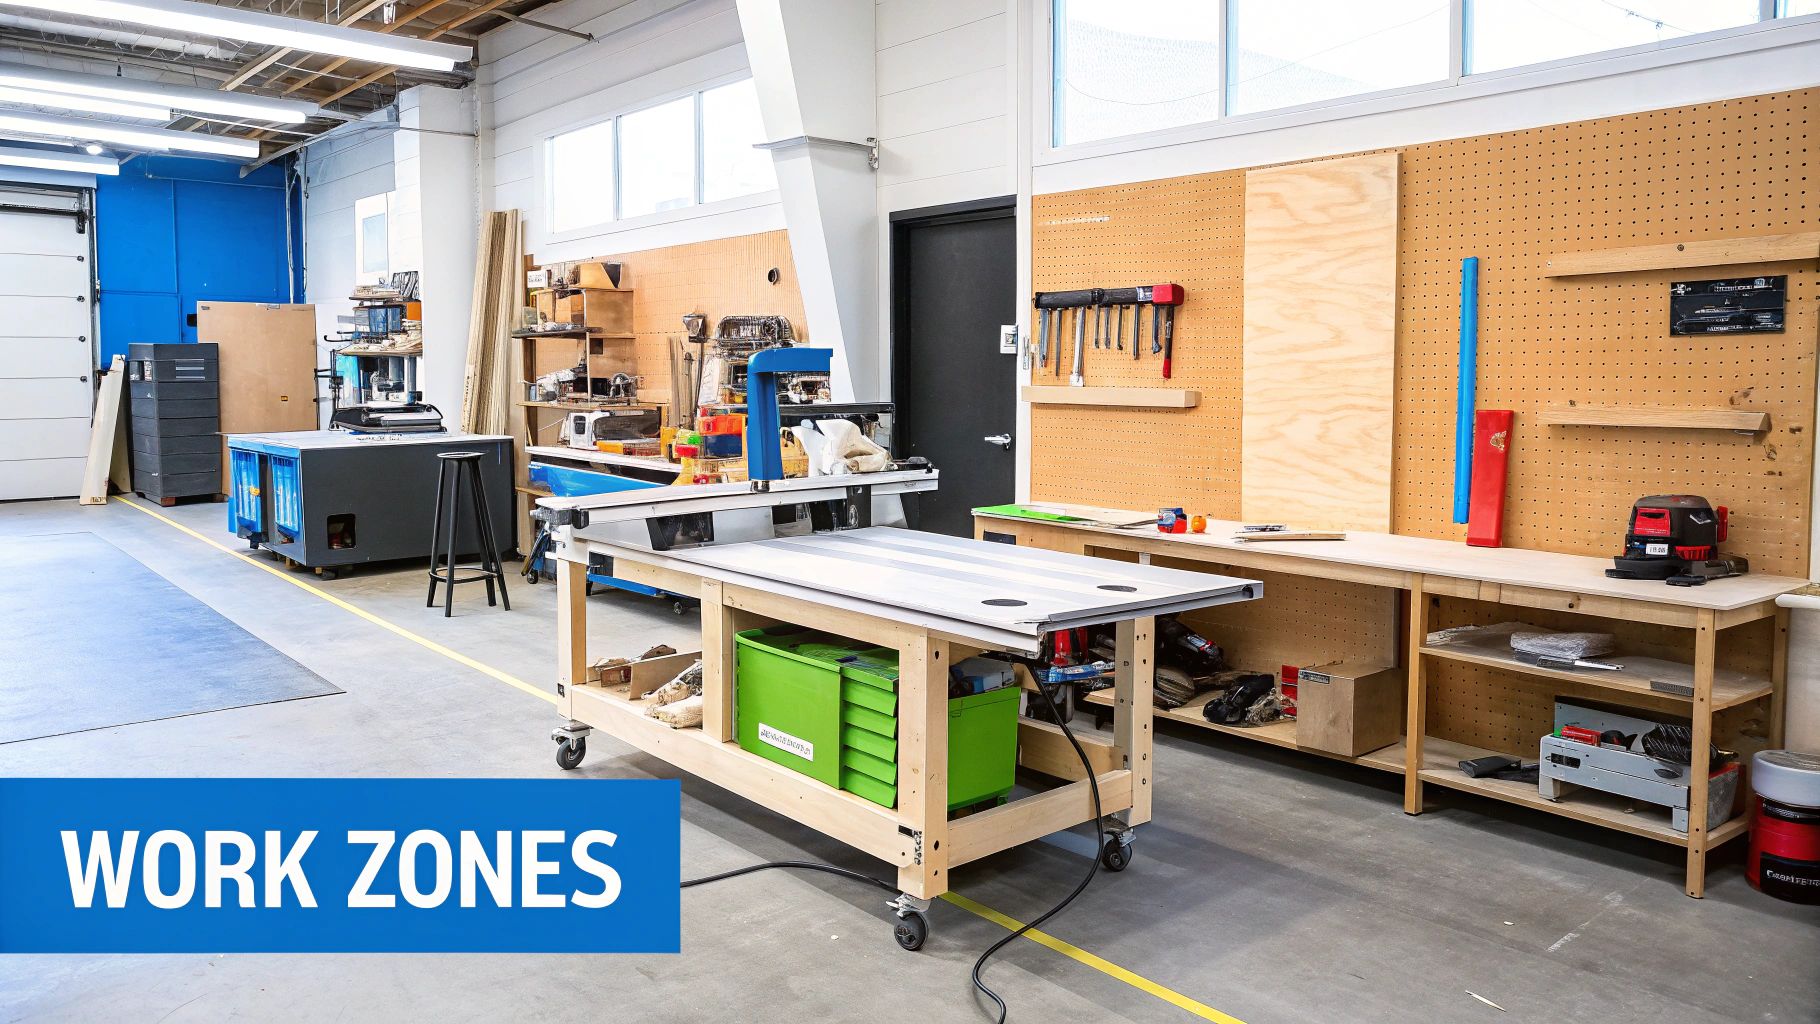
For artisans, fine furniture makers, and custom shops where multiple projects in different stages often run concurrently, the zone-based layout is a highly adaptable and intuitive model. Instead of a strict linear path, the shop is organized into distinct functional "zones" or work stations dedicated to specific tasks. This approach groups similar tools and activities, allowing for flexible movement and simultaneous work without interference.
This is one of the most practical woodworking shop layout ideas for shops that value flexibility over high-volume, repeatable production, such as custom carpentry shops or educational programs.
Workflow and Rationale
The core principle of this layout is functional clustering. Workers and projects move between zones as needed, rather than following a rigid, predetermined sequence. This allows a woodworker to machine parts in one zone while a separate project's glue-up cures in another.
- Machining Zone: The "loud and dusty" area. This zone clusters the table saw, jointer, planer, and other large power tools. It’s typically located near the lumber storage and entrance.
- Hand Tool/Joinery Zone: A quieter, cleaner area centered around a sturdy workbench. It houses hand tools, chisels, planes, and smaller precision tools like a drill press or mortiser.
- Assembly Zone: This requires open floor space and features large, flat workbenches or assembly tables. Clamp racks and hardware storage are kept within arm's reach.
- Finishing Zone: A dedicated, well-ventilated space, often physically separated to prevent dust contamination. It contains finishing supplies, spray equipment, and drying racks.
Implementation and Best Practices
- Logical Adjacency: Arrange zones to minimize excessive travel. Place the machining zone near raw material storage, and position the assembly and hand tool zones adjacent to each other for easy workflow transitions.
- Centralized Resources: A central "tool crib" or shared-resource island can house common items like fasteners, adhesives, and measuring tools, making them accessible from multiple zones.
- Mobile Solutions: Employ mobile bases for large machines and workbenches. This creates a highly reconfigurable space that can adapt to the unique demands of large or unusually shaped projects.
- Workflow Staging: Use carts as mobile staging areas to transport parts between zones. For example, a dedicated cart can hold all the components for a cabinet, allowing you to move it seamlessly from the machining zone to the assembly zone. This physical staging mirrors how a system like TimberCloud can digitally track parts as they progress through different work centers, ensuring nothing gets lost in a dynamic environment.
3. The U-Shaped Layout: The Ergonomic Triangle
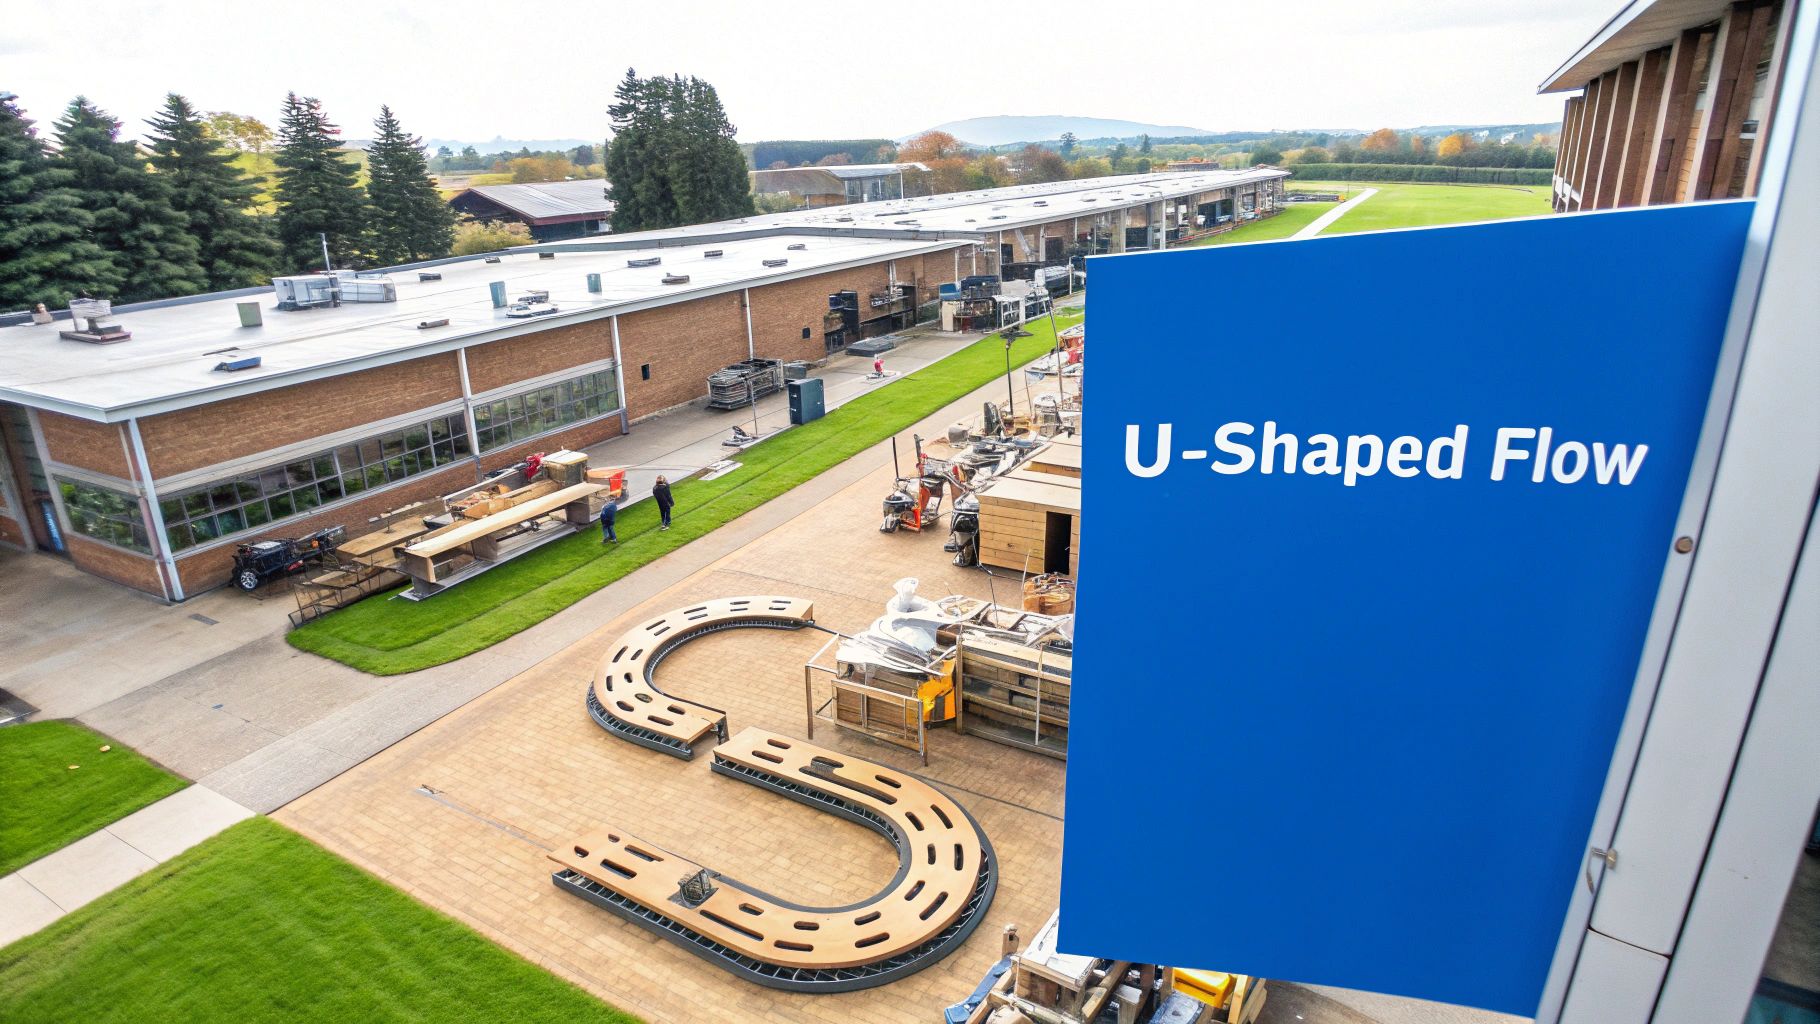
The U-shaped layout, also known as a horseshoe layout, is a highly ergonomic and step-saving design ideal for one-person shops or compact spaces. This configuration arranges the primary workstations and machines along three walls, forming a 'U'. The woodworker operates within this central core, with key tools just a pivot and a step away, creating an efficient work triangle similar to the classic kitchen design principle.
This is one of the most practical woodworking shop layout ideas for small custom furniture studios, hobbyist garage shops, and specialized restoration workshops where a single person handles multiple tasks sequentially.
Workflow and Rationale
The central idea is to minimize travel distance by creating a tight, logical loop. A typical workflow might start on one leg of the U, move across the back, and finish on the opposite leg. The open center becomes the primary operational zone, often housing a mobile workbench or assembly table.
- Material Infeed and Breakdown: One leg of the U is dedicated to raw material processing. This area typically features the miter saw and table saw, positioned near the shop's entrance for easy material handling.
- Milling and Joinery: The back wall of the U is perfect for the "core" machines like the jointer, planer, and router table. The woodworker can move stock from the breakdown area to this central zone with minimal effort.
- Assembly and Finishing: The final leg of the U serves as the assembly and finishing station. This side would include the main workbench, clamp storage, and drill press, keeping the "cleaner" tasks separate from the heavy dust-producing machines.
Implementation and Best Practices
- Core Placement: Place your most frequently used tools, like the workbench and table saw, at the points of the U that are easiest to access. The back wall is best for machines used in sequence, such as the jointer and planer.
- Central Hub: Utilize the open middle area with a rolling assembly table or mobile tool carts. This creates a flexible surface that can be moved out of the way to accommodate large projects or long material.
- Clear the Opening: The open end of the U must be kept clear to serve as the main entryway for materials and finished projects. Avoid placing permanent equipment here, as it will create a significant bottleneck.
- Vertical Space: Maximize storage by using the wall space above your machines and benches. French cleat systems, wall-mounted cabinets, and overhead lumber racks are excellent for keeping the U's footprint uncluttered.
4. The Island/Central Workbench Layout: The Collaborative Core
For shops where the primary focus is on assembly, detailed handwork, or collaborative projects, the island or central workbench layout offers an unparalleled hub-and-spoke design. This approach anchors the entire space with a large, accessible work surface at its center. All other tools, storage, and machines are arranged around the perimeter, radiating outward from this central point of activity.
This is one of the most flexible woodworking shop layout ideas for artisan studios, small group workshops, and shops that prioritize assembly and finishing over high-volume material processing.
Workflow and Rationale
The core principle is centralization. Instead of a linear path, the workflow revolves around a central island, which acts as the main stage for project development. The operator can easily pivot from the workbench to grab a tool, access stored materials, or perform a quick machine operation without traversing the entire shop.
- Central Hub: The island workbench is the primary zone for layout, joinery cutting, sub-assembly, and final glue-ups.
- Immediate Access Zone: Hand tools, clamps, and frequently used power tools are stored within arm's reach, either on the island itself or in adjacent wall-mounted cabinets.
- Machine Perimeter: Larger stationary tools like the table saw, band saw, and drill press are positioned along the walls, arranged logically based on frequency of use relative to the central bench.
- Material Storage: Lumber and sheet goods are typically stored along the outer walls, furthest from the main workflow to keep the central area clear.
Implementation and Best Practices
- Island Dimensions: Aim for an island width of 4-6 feet to ensure you can reach the center from all sides without excessive stretching. The length can be tailored to your project scale.
- Perimeter Clearance: Maintain at least 36-48 inches of clear space around the entire island to allow for safe movement and machine access, especially for infeed and outfeed requirements.
- Integrated Utilities: Equip the central island with integrated power outlets, bench dog holes, and vices to maximize its functionality and reduce cord clutter. A lower shelf is perfect for storing frequently grabbed items like glue bottles or sanding blocks.
- Mobile Support: Augment the central island with smaller, mobile carts and work supports. This allows you to create temporary "spokes" for specific tasks, like a dedicated sanding cart or a glue-up station, that can be rolled away when not in use. This modular approach keeps the primary workspace adaptable.
5. The L-Shaped Layout: The Corner Space Optimizer
For woodworkers with shops in square or rectangular spaces like garages, basements, or dedicated outbuildings, the L-shaped layout is a highly efficient and adaptable solution. This configuration arranges the primary workflow along two adjacent walls, forming an "L". This creates a well-defined work triangle and opens up a large central area, making it ideal for assembly, material staging, or maneuvering large projects.
This is one of the most practical woodworking shop layout ideas for those who need to balance machine space with a flexible open floor, making it perfect for hybrid shops that combine power tool woodworking with hand tool joinery or large-scale assembly.
Workflow and Rationale
The L-shaped layout typically divides the workflow into two distinct legs. One leg of the "L" is often dedicated to material breakdown and heavy machining, while the other is used for detail work, joinery, and assembly. This natural separation helps contain dust and noise while maintaining an efficient process flow.
- Machining Leg: This arm usually starts near the shop entrance for easy material handling. It houses the table saw, miter saw, jointer, and planer, often arranged sequentially along the wall.
- Assembly & Finishing Leg: The second arm provides a cleaner, quieter space. It’s ideal for workbenches, drill presses, routing stations, and clamp storage. The open floor space adjacent to this leg becomes the primary assembly zone.
- The Corner Nexus: The junction where the two legs meet is a crucial point. It can house a stationary tool like a band saw or drill press that serves both workflows, or it can be an effective location for a primary workbench.
Implementation and Best Practices
- Corner Utilization: Don’t let the corner become dead space. Install deep corner shelves for material cut-offs, build a custom corner workbench, or place a tool on a 45-degree angle to improve access from both legs of the L.
- Tool Placement: Position the noisiest and dustiest machines, like the planer and table saw, at the end of one leg, preferably near a door or window for ventilation. Place your primary workbench along the other leg to keep it out of the direct line of dust and debris.
- Central Space Management: Keep the large central area as clear as possible. Use mobile bases for tools like floor-standing sanders or band saws so they can be moved into the open space when needed and tucked away otherwise. This area is invaluable for assembling large case goods or furniture.
- Workflow Mapping: Plan the flow from the shop entrance, along the first leg for breakdown, and then across to the second leg for assembly. A system like TimberCloud can help you digitally model this flow, creating optimized cut lists and part labels that guide materials seamlessly from the "machining" leg to their designated spot on the "assembly" leg, preventing parts from getting lost in the open floor space.
6. The Open/Flow-Based Layout: The Creative Workshop
For workshops where project types vary dramatically and adaptability is paramount, the open or flow-based layout offers unparalleled flexibility. Unlike rigid, sequential layouts, this model prioritizes movement and reconfiguration, treating the shop floor as a dynamic space. Tools are placed on mobile bases, and workstations are designed to be moved, allowing the layout to morph to fit the unique workflow of each project.
This approach is one of the most versatile woodworking shop layout ideas for maker spaces, artistic studios, and shops that build one-of-a-kind custom pieces or prototypes.
Workflow and Rationale
The core principle is project-centric adaptability. Instead of a fixed path for all materials, the workflow is defined by the needs of the current build. A large, open central area serves as the primary assembly and staging ground, while machines and workbenches are arranged around the perimeter, ready to be rolled into action as needed.
- Anchored Zones: Key "immovable" elements like a large assembly table, sheet good storage, or a heavy-duty table saw can serve as anchors, with everything else flowing around them.
- Mobile Machine Pods: Groups of related tools (e.g., a jointer and planer) can be clustered on mobile bases, forming a "milling pod" that can be positioned for optimal infeed and outfeed.
- Project-Specific Flow: For a large casework project, the table saw might be moved centrally. For an intricate sculpture, the carving and sanding stations might take precedence in the open space.
- Flexible Assembly: The open center allows for the assembly of large, unusually shaped projects that would be impossible to manage in a zoned shop.
Implementation and Best Practices
- Invest in Mobility: High-quality, locking casters and heavy-duty mobile bases are non-negotiable. Ensure your floor is smooth and level to facilitate easy movement.
- Utility Drops: Plan for power and dust collection to be accessible from multiple points. Overhead electrical reels and flexible dust hoses are ideal for keeping the floor clear and providing service wherever it's needed.
- Perimeter Storage: Maximize wall space for tool cabinets, clamp racks, and lumber storage. This keeps the central floor area open for active work and prevents clutter from accumulating in the main pathways.
- Digital Organization: The physical flexibility of this layout can lead to chaos without a strong organizational system. A tool like TimberCloud is invaluable here, allowing you to track parts and sub-assemblies through their non-linear journey, ensuring nothing gets lost even when the shop layout changes daily.
7. The Separated/Two-Shop Layout: The Specialist's Sanctuary
For shops where precision assembly and flawless finishing are paramount, the separated or two-shop layout provides the ultimate level of control. This model physically divides the workspace into two distinct, specialized environments: a "dirty" shop for milling and machining, and a "clean" shop for assembly and finishing. This separation is the gold standard for preventing cross-contamination, ensuring that fine airborne dust from cutting and sanding never compromises a perfect finish.
This is one of the most effective woodworking shop layout ideas for high-end custom furniture makers, architectural millwork shops, and any operation where the final surface quality is non-negotiable.
Workflow and Rationale
The core principle is environmental isolation. All operations that generate significant dust and debris are contained in one area, while delicate tasks that require a pristine environment are performed in another. The workflow involves a deliberate transfer of processed components from the dirty zone to the clean zone.
- Dirty/Machine Shop: This area contains all heavy machinery. Raw material storage, the table saw, jointer, planer, sanders, and CNC router are located here. It is optimized for efficient material processing and aggressive dust collection.
- Transition/Staging Zone: A crucial buffer between the two areas. This could be an airlock, a hallway, or a designated cart-swapping area where parts are blown off and inspected before moving to the clean side.
- Clean/Assembly & Finishing Shop: This space is dedicated to tasks like joinery assembly, hardware installation, and finishing. It typically houses assembly tables, clamp racks, hand tool stations, and a dedicated finishing or spray booth. The environment is kept as dust-free as possible.
Implementation and Best Practices
- Physical Barriers: Use full walls with well-sealed doors to create the separation. For a lower-cost solution, heavy-duty plastic strip curtains can create an effective barrier. Positive or negative air pressure systems can further enhance isolation.
- Dedicated Tooling: To prevent carrying dust between zones, maintain separate sets of common tools. For instance, have dedicated cordless drills, measuring tools, and hand tools in the clean room so they don't have to travel back and forth.
- Material Transfer: Use dedicated carts for moving parts from the machine shop to the assembly shop. Parts should be thoroughly cleaned with compressed air or a vacuum in the transition zone before entering the clean area. This physical handoff is a critical control point that can be managed and tracked with a robust production system. For shops looking to integrate this level of process control, the team at TimberCloud can provide guidance on structuring these workflows digitally. Find out how to optimize your production flow by contacting us.
8. The Modular/Flexible Mobile Layout: The Ultimate Adapter
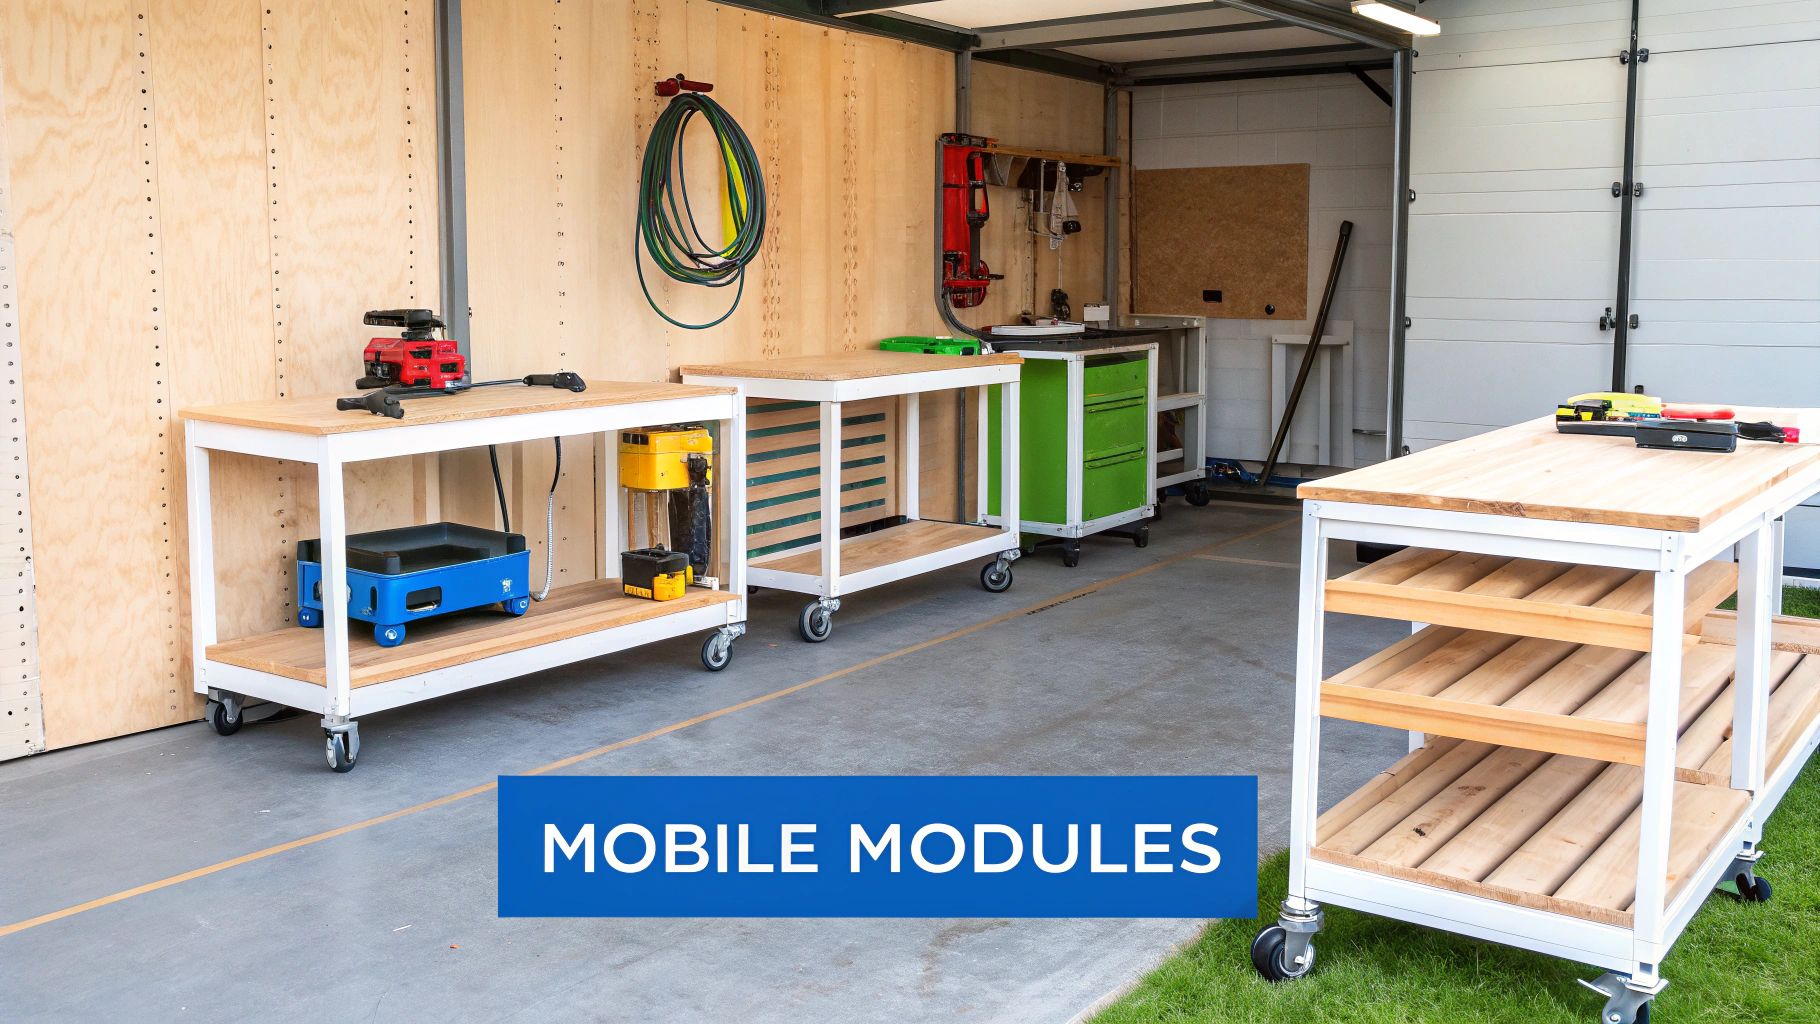
For workshops where space is a premium or project types vary dramatically, the modular and flexible mobile layout is a game-changer. This approach treats the entire shop floor as a dynamic grid, where nearly every machine, workbench, and storage unit is mounted on high-quality casters. This transforms static stations into reconfigurable modules that can be rolled into place for a specific task and then pushed aside to make room for the next.
This is one of the most versatile woodworking shop layout ideas for small garages, shared community spaces, or job-site installers who need to adapt their setup on the fly.
Workflow and Rationale
The core principle is reconfigurability on demand. Instead of a fixed workflow, the layout is arranged to create the most efficient sequence for the current project. A typical scenario might involve rolling out the table saw for primary cuts, then moving it against a wall to bring a large assembly table to the center of the floor. Each workstation module is a self-contained unit.
This layout excels in multi-use spaces. You can break down sheet goods in the morning and have a wide-open area for assembly or finishing by the afternoon. It prioritizes adaptability over the rigid efficiency of a linear system, making it ideal for one-off custom pieces and prototyping.
Implementation and Best Practices
- Invest in Quality Casters: This is non-negotiable. Use heavy-duty, locking, double-bearing swivel casters that can handle the weight of your machines without flexing or flat-spotting.
- Standardize Heights: Build mobile bases and workbenches to a consistent height. This allows them to double as infeed, outfeed, or side-support surfaces for each other, dramatically increasing their utility.
- Utility Management: Plan for flexible power and dust collection. Overhead cord reels and quick-connect dust collection ports are essential for preventing a tangled mess of hoses and cables on the floor.
- Modular Organization: Design each mobile station to hold all the necessary accessories for its primary machine. For example, the router table cart should have designated storage for bits, wrenches, and jigs. This "grab-and-go" approach is critical when managing production data, and a system with robust features for part tracking ensures that digital information follows the physical modules seamlessly across the shop floor.
8 Woodshop Layouts Comparison
| Layout | Complexity (🔄) | Resource & Space (⚡) | Expected outcomes (📊) | Ideal use cases (💡) | Key advantages (⭐) |
|---|---|---|---|---|---|
| The Linear/Assembly Line Layout | 🔄 Medium — fixed sequential planning | ⚡ Moderate equipment; long linear floor; buffer zones required | 📊 High throughput & predictability; vulnerable to single-point bottlenecks | 💡 High-volume furniture, cabinet shops, production schools | ⭐⭐⭐ High efficiency, easy monitoring, reduced material handling |
| The Zone-Based/Work Station Layout | 🔄 High — requires cross-zone coordination | ⚡ High floor area; grouped tools; possible duplicated small resources | 📊 Flexible multi-project flow; variable lead times, harder tracking | 💡 Custom woodworkers, fine furniture makers, educational studios | ⭐⭐⭐ Strong flexibility & specialization; supports diverse projects |
| The U-Shaped Layout | 🔄 Low — compact, simple planning | ⚡ Low–moderate space; central storage; limited large-equipment fit | 📊 Short material travel; good supervision; limited expandability | 💡 Solo operators, small custom shops, hobbyists | ⭐⭐ Very space-efficient; minimizes walking; good oversight |
| The Island/Central Workbench Layout | 🔄 Low–Medium — central coordination needed | ⚡ Moderate space; central bench; limited integration of very large tools | 📊 Collaborative environment; excellent for hand-tool work and training | 💡 Teaching environments, collaborative studios, hand-tool specialists | ⭐⭐⭐ Promotes collaboration, accessibility, and training effectiveness |
| The L-Shaped Layout | 🔄 Low — straightforward corner arrangement | ⚡ Moderate space; fits rectangular rooms; can accommodate larger equipment | 📊 Balanced workflow with some dead corners; moderate supervision | 💡 Basements, garages, hybrid shops combining hand & power tools | ⭐⭐ Flexible corner utilization; separates loud and quiet work |
| The Open/Flow-Based Layout | 🔄 High — dynamic routing needs strong management | ⚡ Variable resources; relies on mobile gear and storage anchors | 📊 Maximum adaptability; easy reconfiguration but harder to optimize | 💡 Maker spaces, prototyping labs, contemporary artist studios | ⭐⭐⭐ Highly adaptable and reconfigurable for varied projects |
| The Separated/Two-Shop Layout | 🔄 High — controlled transitions and containment required | ⚡ High square footage; separate environmental controls and dust collection | 📊 Superior finishing quality and worker health; potential material transfer bottlenecks | 💡 High-end custom furniture, cabinet/millwork shops, finishing specialists | ⭐⭐⭐ Excellent dust/noise isolation; protects finish quality |
| The Modular/Flexible Mobile Layout | 🔄 Medium — module standardization & planning | ⚡ Moderate–high initial cost for quality casters and quick-connect utilities | 📊 Rapid reconfiguration and scalability; depends on organization systems | 💡 Shared maker spaces, mobile studios, pop-ups, educational labs | ⭐⭐⭐ Maximum adaptability for shared/temporary/variable workloads |
From Layout to Launch: Turning Your Plan into a Productive Reality
We’ve journeyed through a comprehensive collection of woodworking shop layout ideas, from the Linear/Assembly Line model perfect for high-volume production to the Modular/Flexible Mobile Layout that offers unparalleled adaptability for smaller, evolving spaces. Each layout, whether it's the Zone-Based, U-Shaped, or Island-centric design, presents a unique solution to the universal challenges of workflow efficiency, material handling, and safety. The core principle remains constant: your physical layout is the foundation upon which your operational success is built.
The most critical takeaway is that there is no single "best" layout. The optimal choice is deeply personal to your business, dictated by your product type, production volume, available space, and long-term growth aspirations. A layout designed for a one-person artisan crafting bespoke furniture will look vastly different from one engineered for a cabinet shop fulfilling B2B orders. The key is to move beyond simply arranging tools and instead design a system that actively minimizes waste in all its forms: wasted steps, wasted motion, wasted time, and wasted material.
Bridging the Physical and Digital Divide
Mastering your physical workflow is a monumental achievement, but in today's market, it's only half the battle. The true potential of these woodworking shop layout ideas is unlocked when they are integrated with an equally intelligent digital workflow. An efficient physical layout reduces physical friction, while a smart digital system eliminates informational friction. This synergy is where modern woodworking businesses gain their competitive edge.
Consider the real-world impact:
- Linear & CNC-Centric Layouts: Imagine your CNC receiving perfectly optimized cut sheets automatically generated the moment a customer finalizes a configurable order online. This eliminates manual data entry, nesting errors, and production delays.
- Zone-Based & Multi-Station Shops: Picture a system where every component of a project is tracked in real-time as it moves from the cutting station to edge banding, assembly, and finishing. This provides total production visibility, prevents bottlenecks, and allows you to give customers accurate lead times.
- Small & Modular Shops: Even for smaller operations, a digital system can manage custom orders, generate precise material lists, and streamline invoicing, freeing you from administrative tasks to focus on the craft.
This integration transforms your shop from a collection of stations into a cohesive, data-driven manufacturing ecosystem. It connects the front office directly to the shop floor, ensuring that what is sold is exactly what is produced, with maximum efficiency.
Actionable Next Steps to Build Your Ideal Shop
Choosing and implementing the right layout is a significant undertaking. As you move from concept to construction, it's crucial to ground your plans in practical reality. Turning your envisioned woodworking shop layout into a tangible, functional space can be achieved efficiently by consulting comprehensive DIY workshop resources to guide your construction and setup process.
Once your physical space is optimized, your focus should shift to the digital infrastructure that will run on top of it. Your goal is to create a seamless flow of information that mirrors the seamless flow of materials you've so carefully designed. By combining these two elements, a thoughtfully planned physical layout and a powerful digital backbone, you create more than just a workshop. You build a resilient, scalable, and highly profitable business ready to meet the demands of the modern woodworking industry. The ultimate goal of any great layout isn't just to make things; it's to make things better, faster, and smarter.
Ready to connect your optimized shop layout to a powerful production system? TimberCloud, Inc. provides the digital backbone to automate your workflow from online sales to the shop floor, generating cut sheets and tracking projects seamlessly. Explore how TimberCloud, Inc. can transform your operational efficiency and help you scale your woodworking business.
Topics
TimberCloud Team
Content Team
The TimberCloud team is dedicated to helping manufacturers streamline their operations with intelligent software solutions.